Table of content
Code Capsules connects to GitHub repositories to deploy applications. To follow this guide, you’ll need a Code Capsules account and a GitHub account.
To demonstrate how to deploy a Flask MySQL application with Code Capsules, we’ve provided an example application, which you can find on the Code Capsules GitHub repository.
Sign in to GitHub, and fork the example application by clicking “Fork” at the top-right of your screen and selecting your GitHub account as the destination.
A Capsule provides the server for hosting an application on Code Capsules.
Navigate to the “Spaces” tab and open the Space you’ll be using.
Click the “Create a New Capsule for Your Space” button, and follow the instructions below to create a Data Capsule:
Navigate to the “Space” containing your recently created Data Capsule and click the “New Capsule” button. Follow the instructions below to create a Backend Capsule:
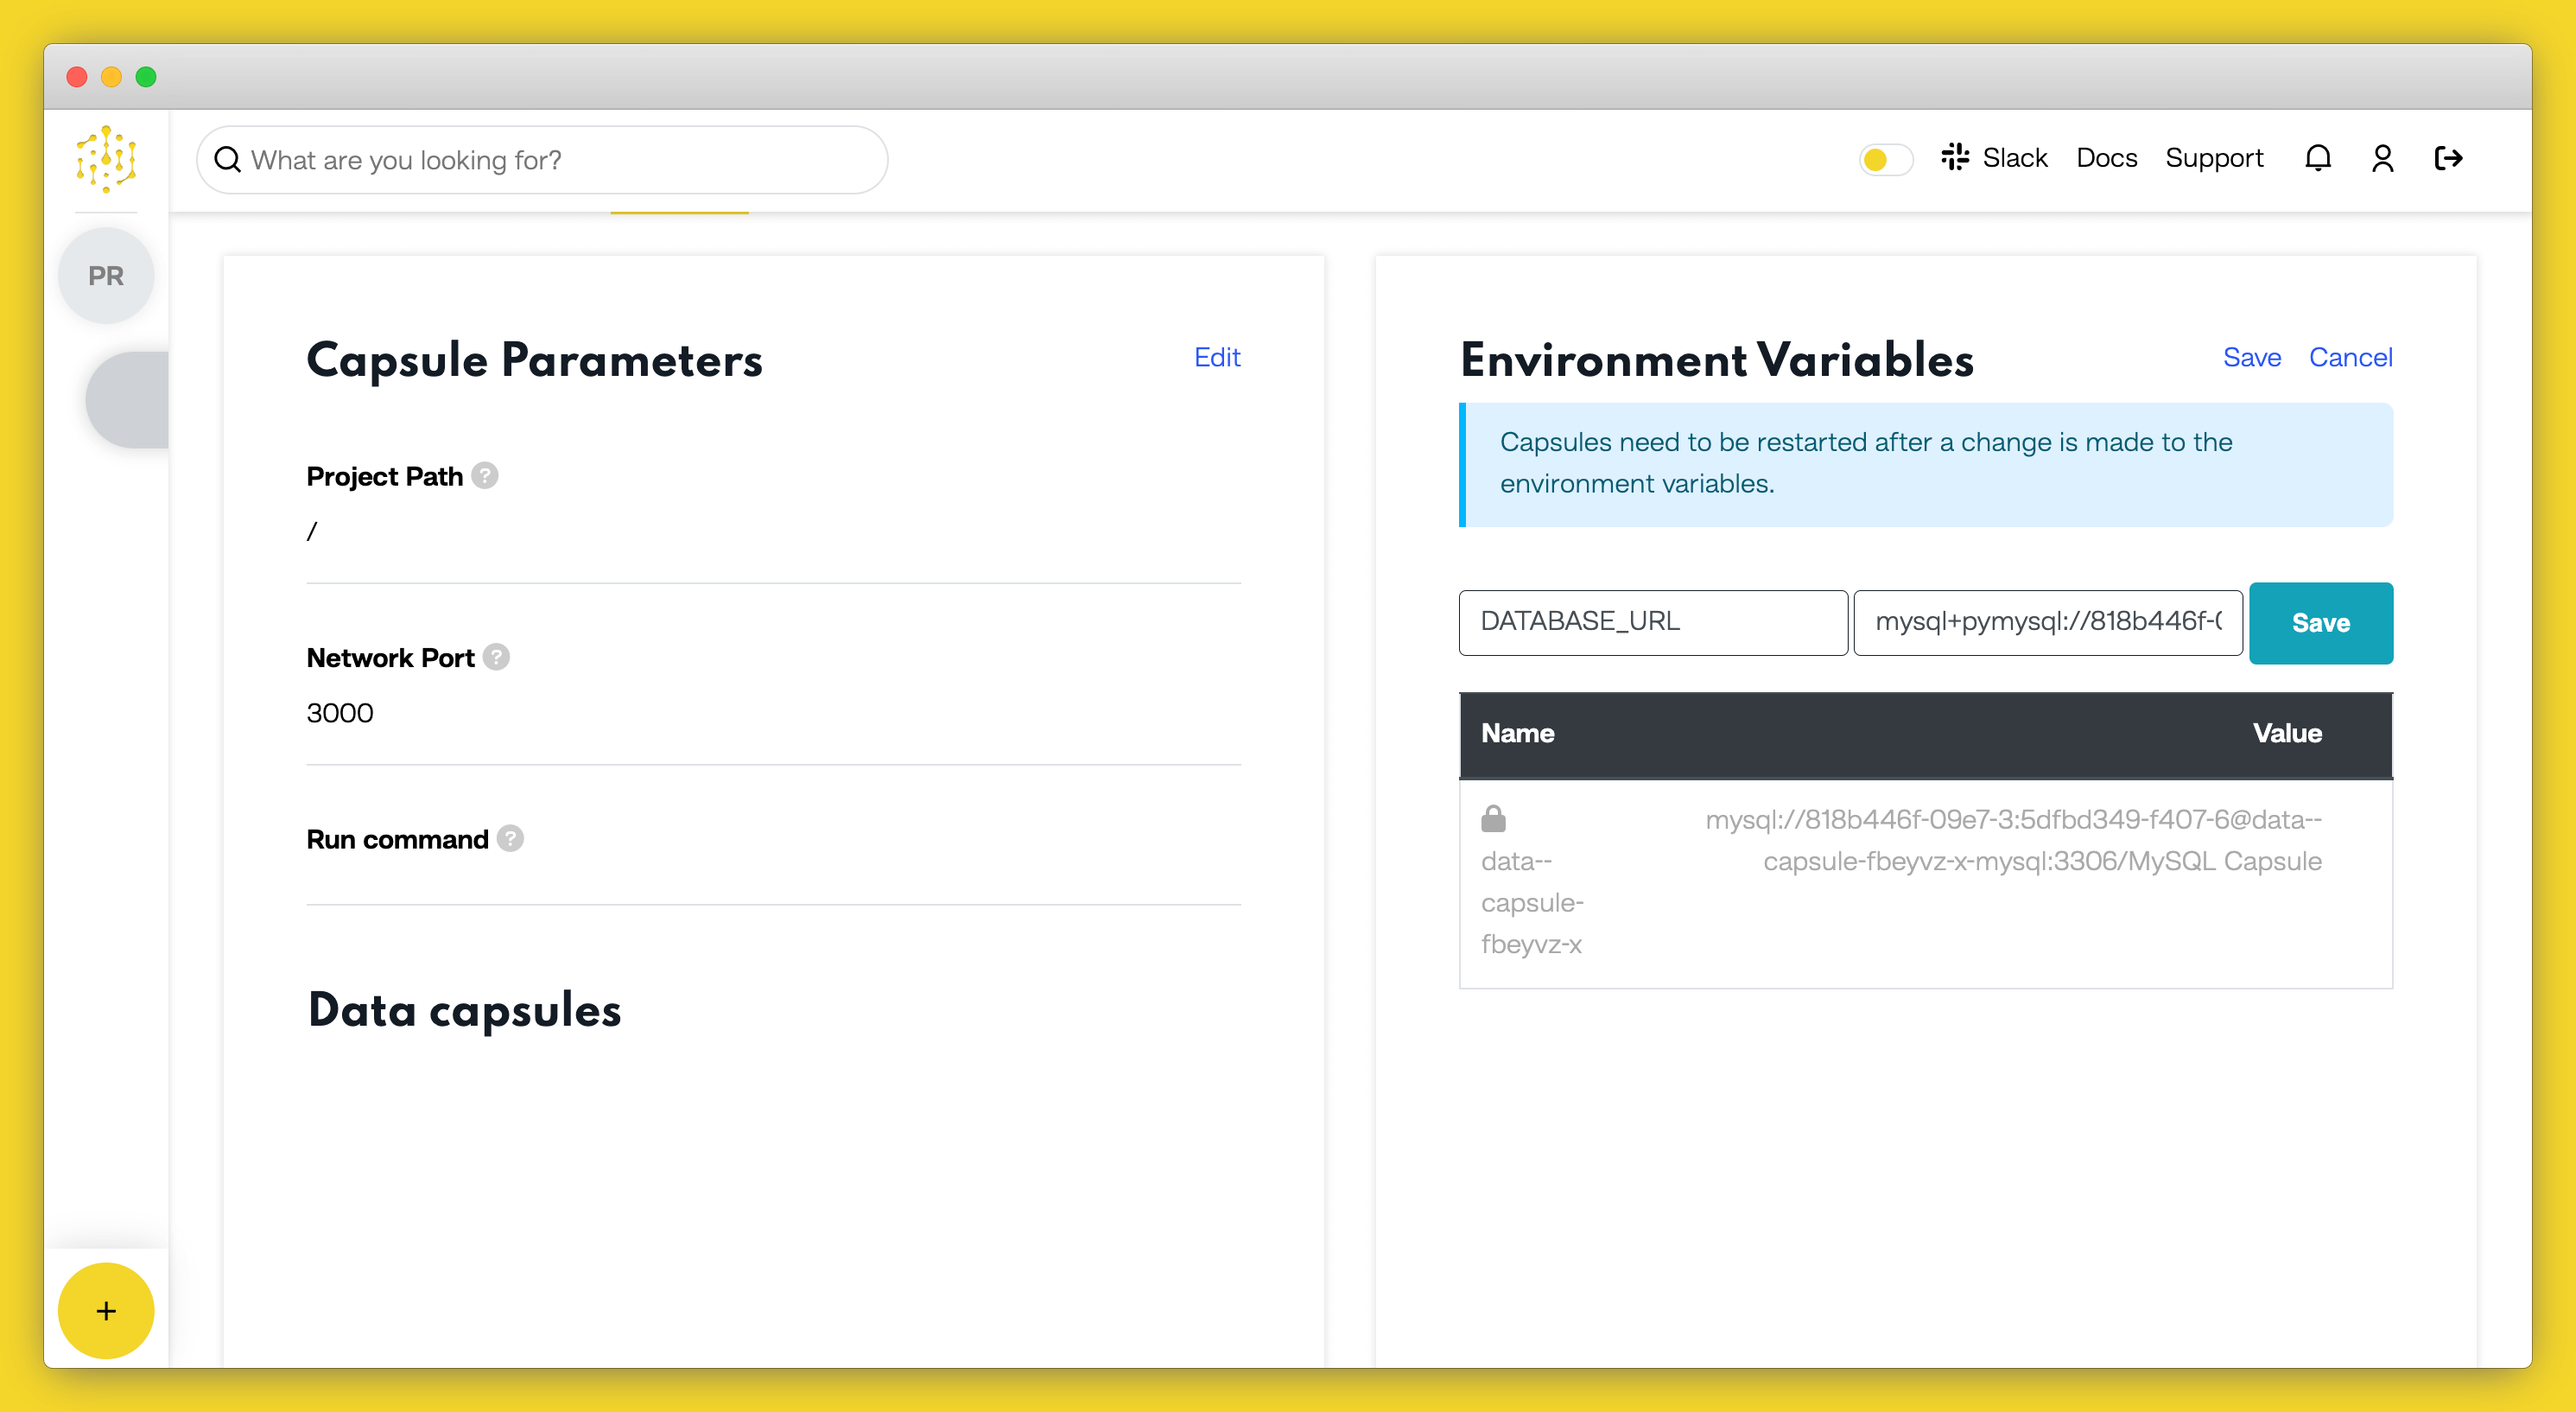
Code Capsules will automatically build your application when you’ve finished creating the Capsule. While the build is in progress, you can view the log by clicking “View Build Progress” next to the “Building Capsule” message.
Once your application is live, you can view the build log by selecting the “Deploy” tab and clicking the “View build log” link in the “Builds” section.
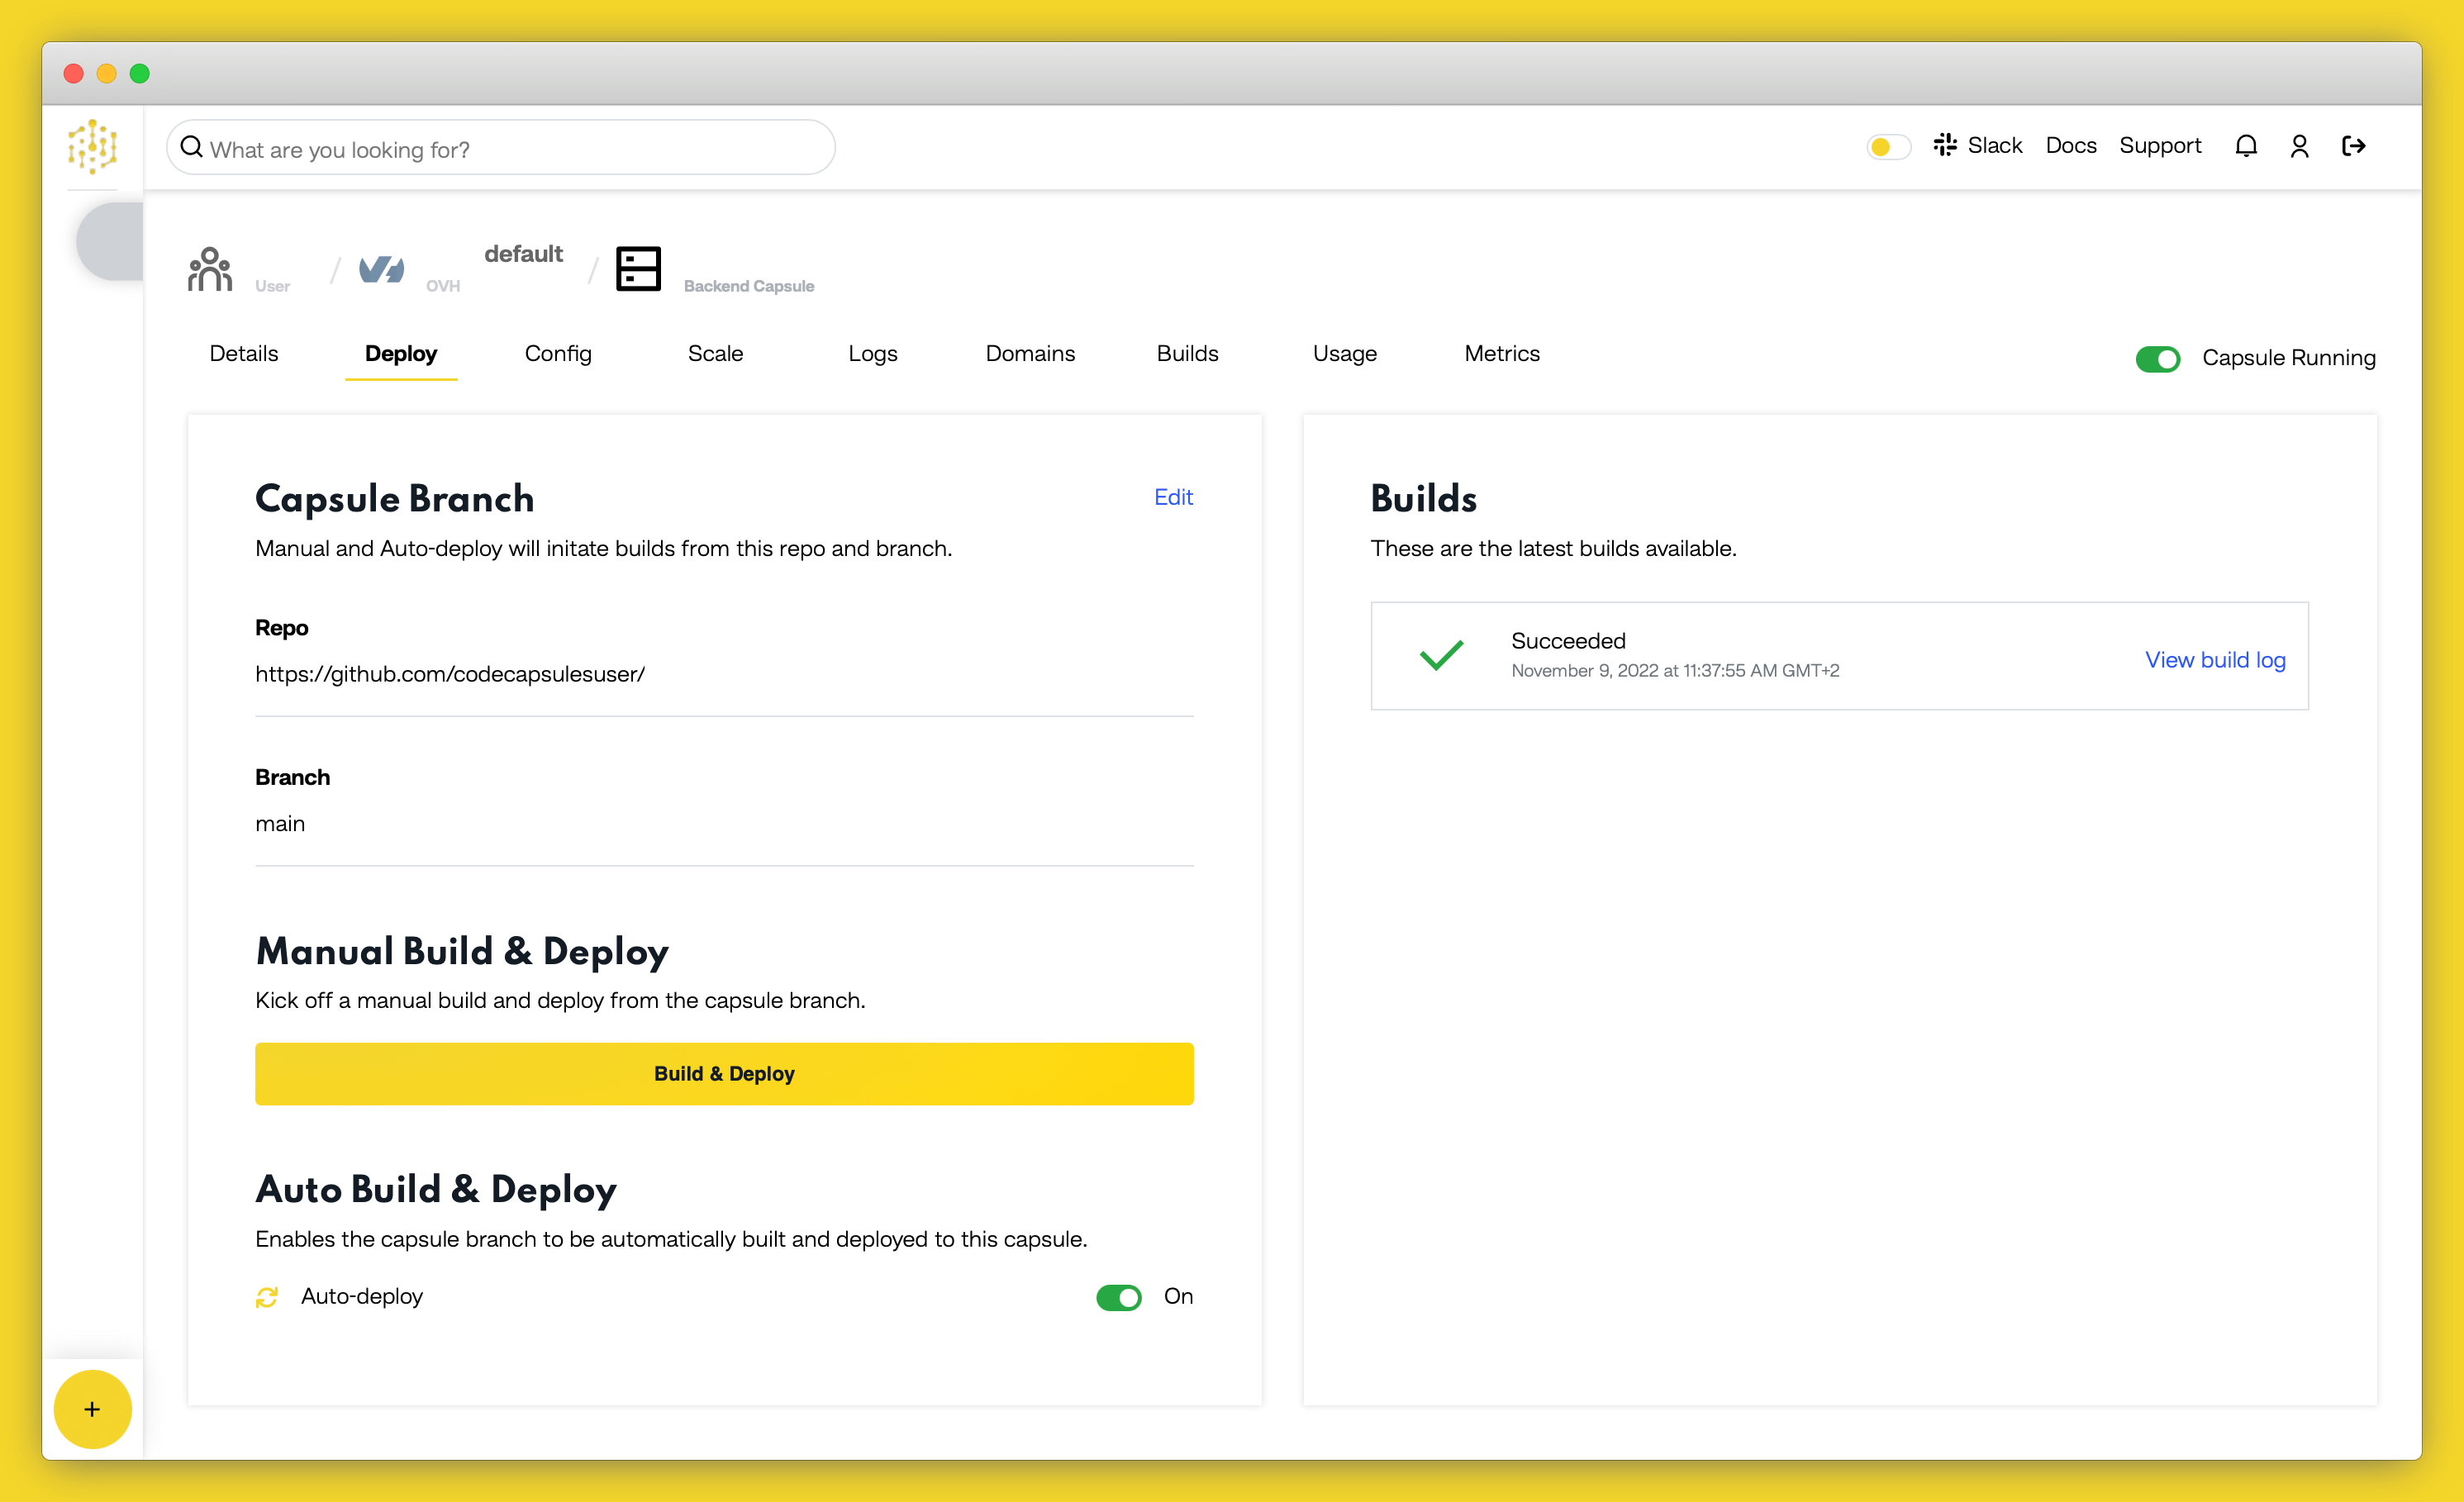
After the two capsules have been successfully built, the next step is to bind them together. To achieve this, navigate to the “Configure” tab of your Backend Capsule. Scroll down to the “Bind Data Capsule” section and click on the “Bind” option at the bottom left. This provides the capsule with information on how to connect to the MySQL database.
DATABASE_URL
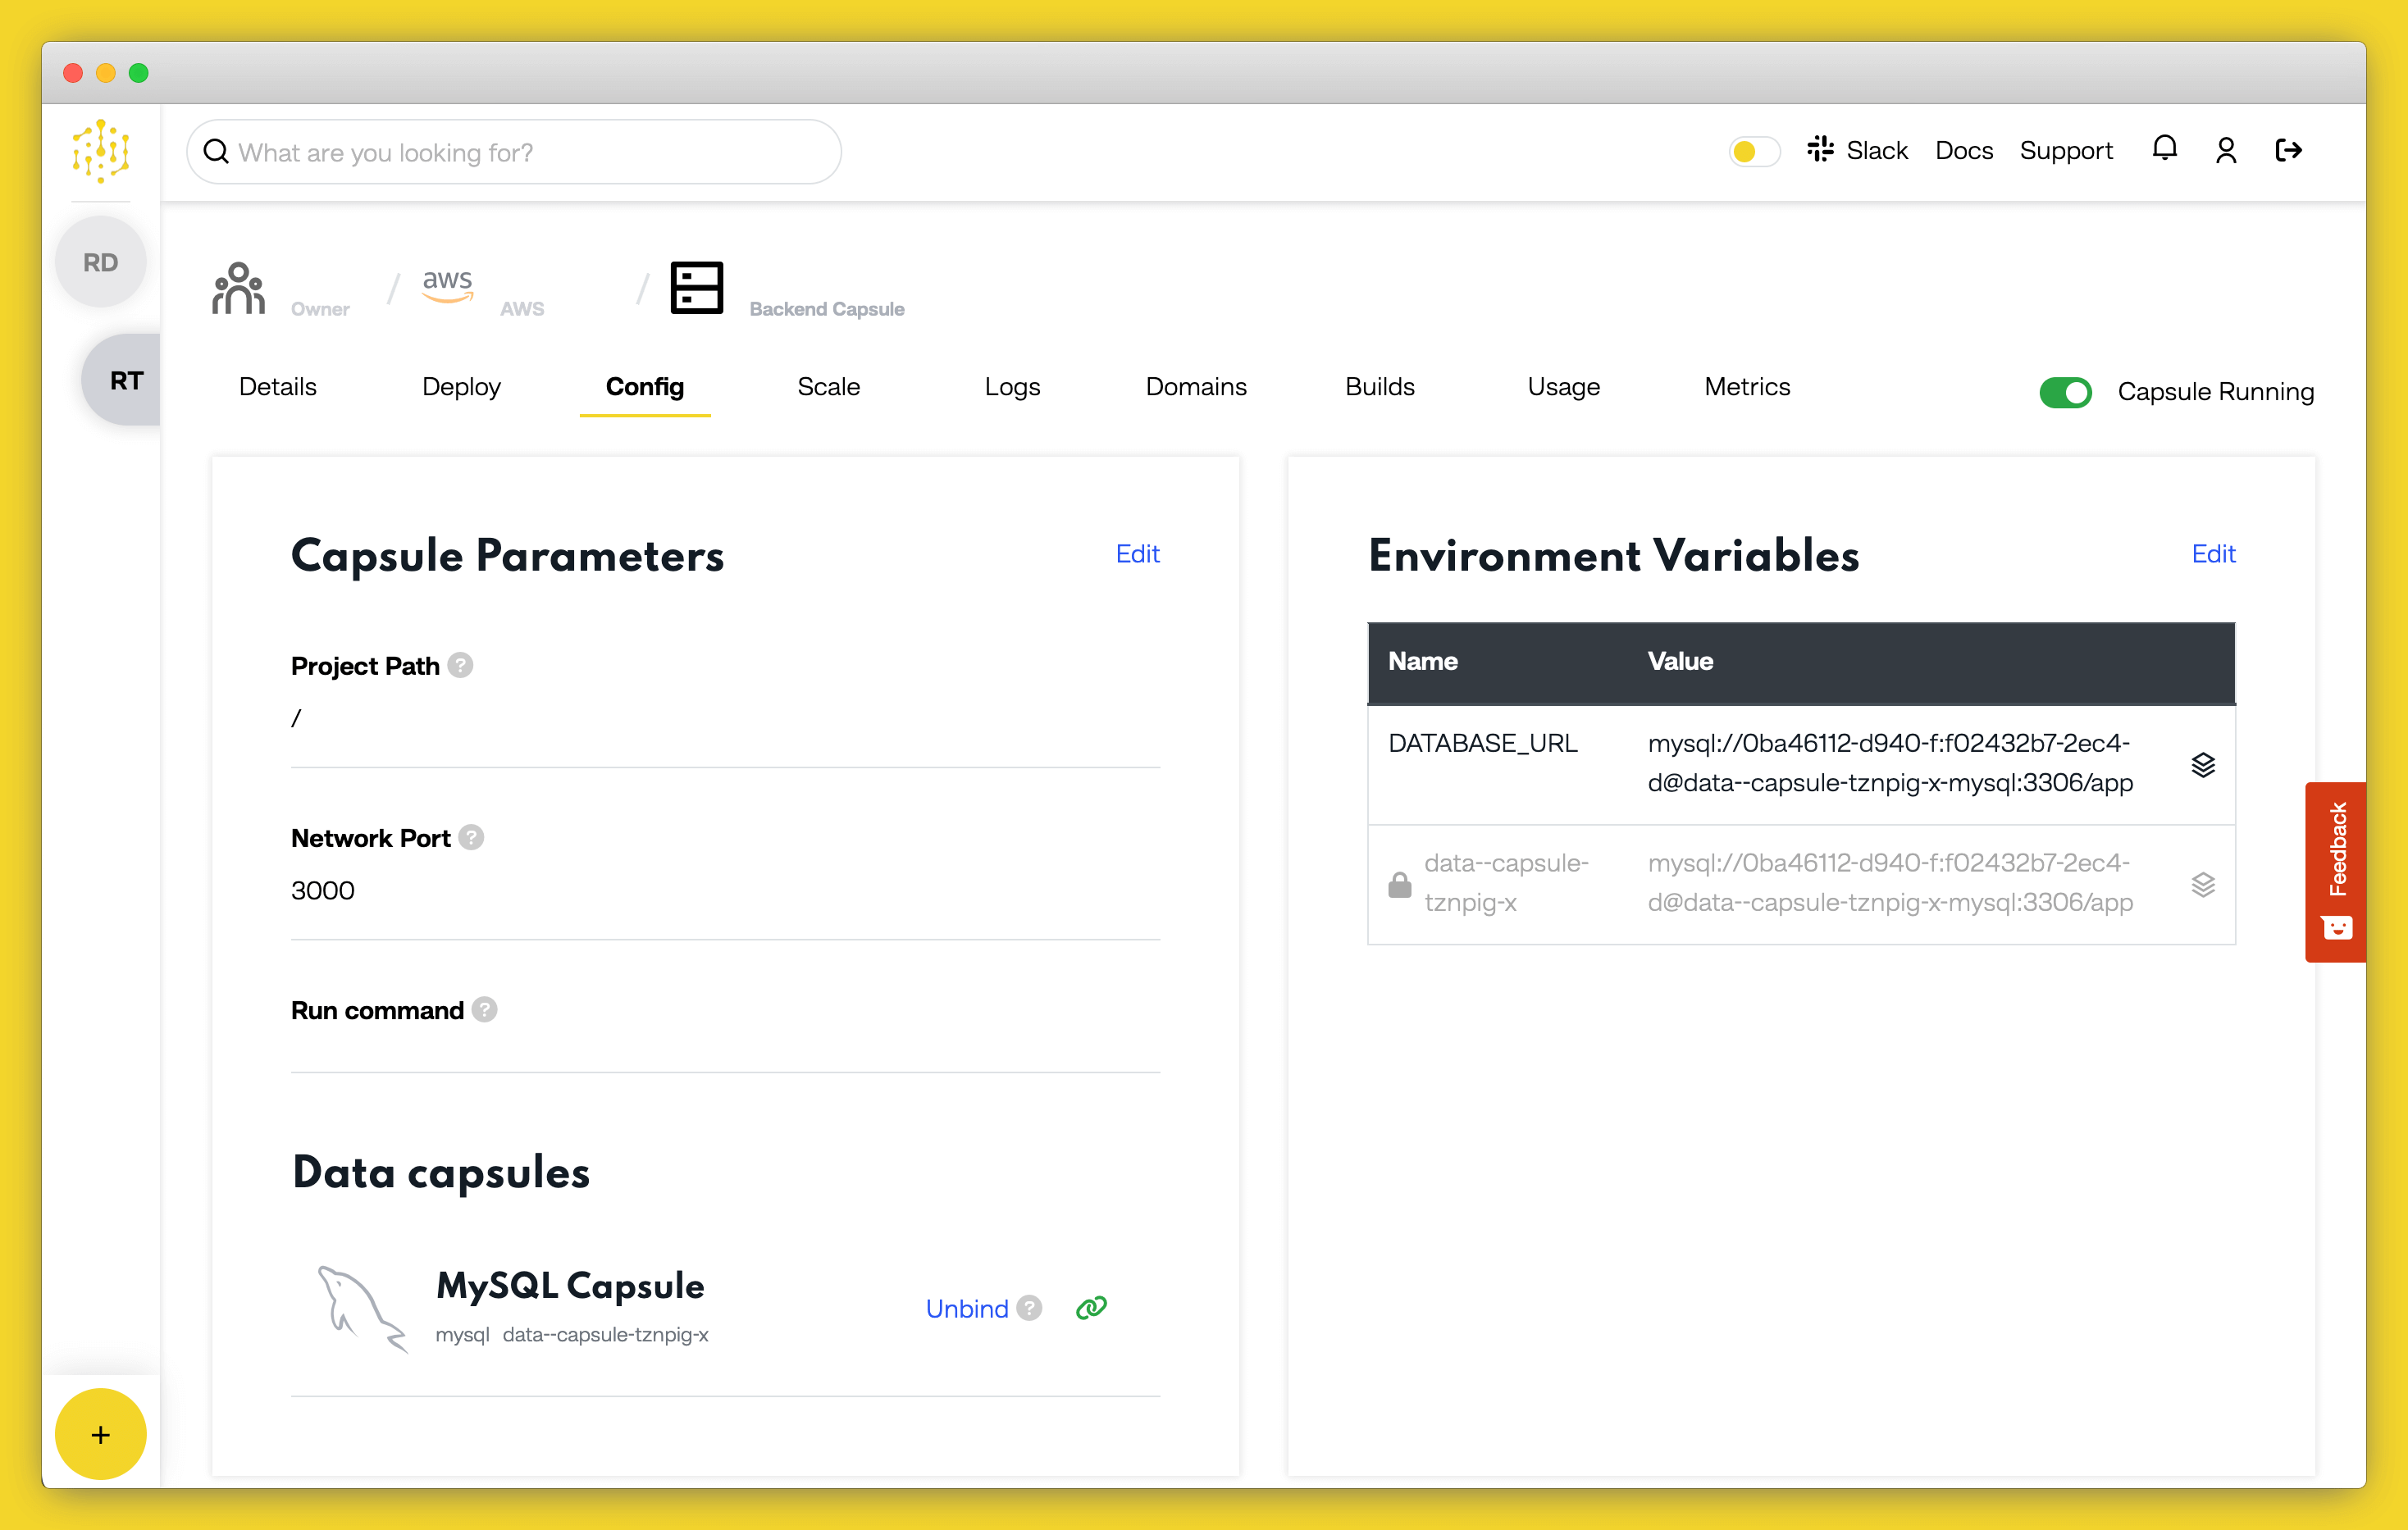
Environment VariableOnce the binding is complete, you have to append
+pymysql
after
mysql
in the
DATABASE_URL
value under the “Capsule parameters” section on the “Configure” tab.
Confirm your changes by clicking on “Update Capsule” then restart your capsule by toggling the radio button in the top right off and on again.
After restarting the capsule, the application will now be ready to be viewed. Click the “Live Website” link at the top of the capsule tab, and you should see your deployed application.
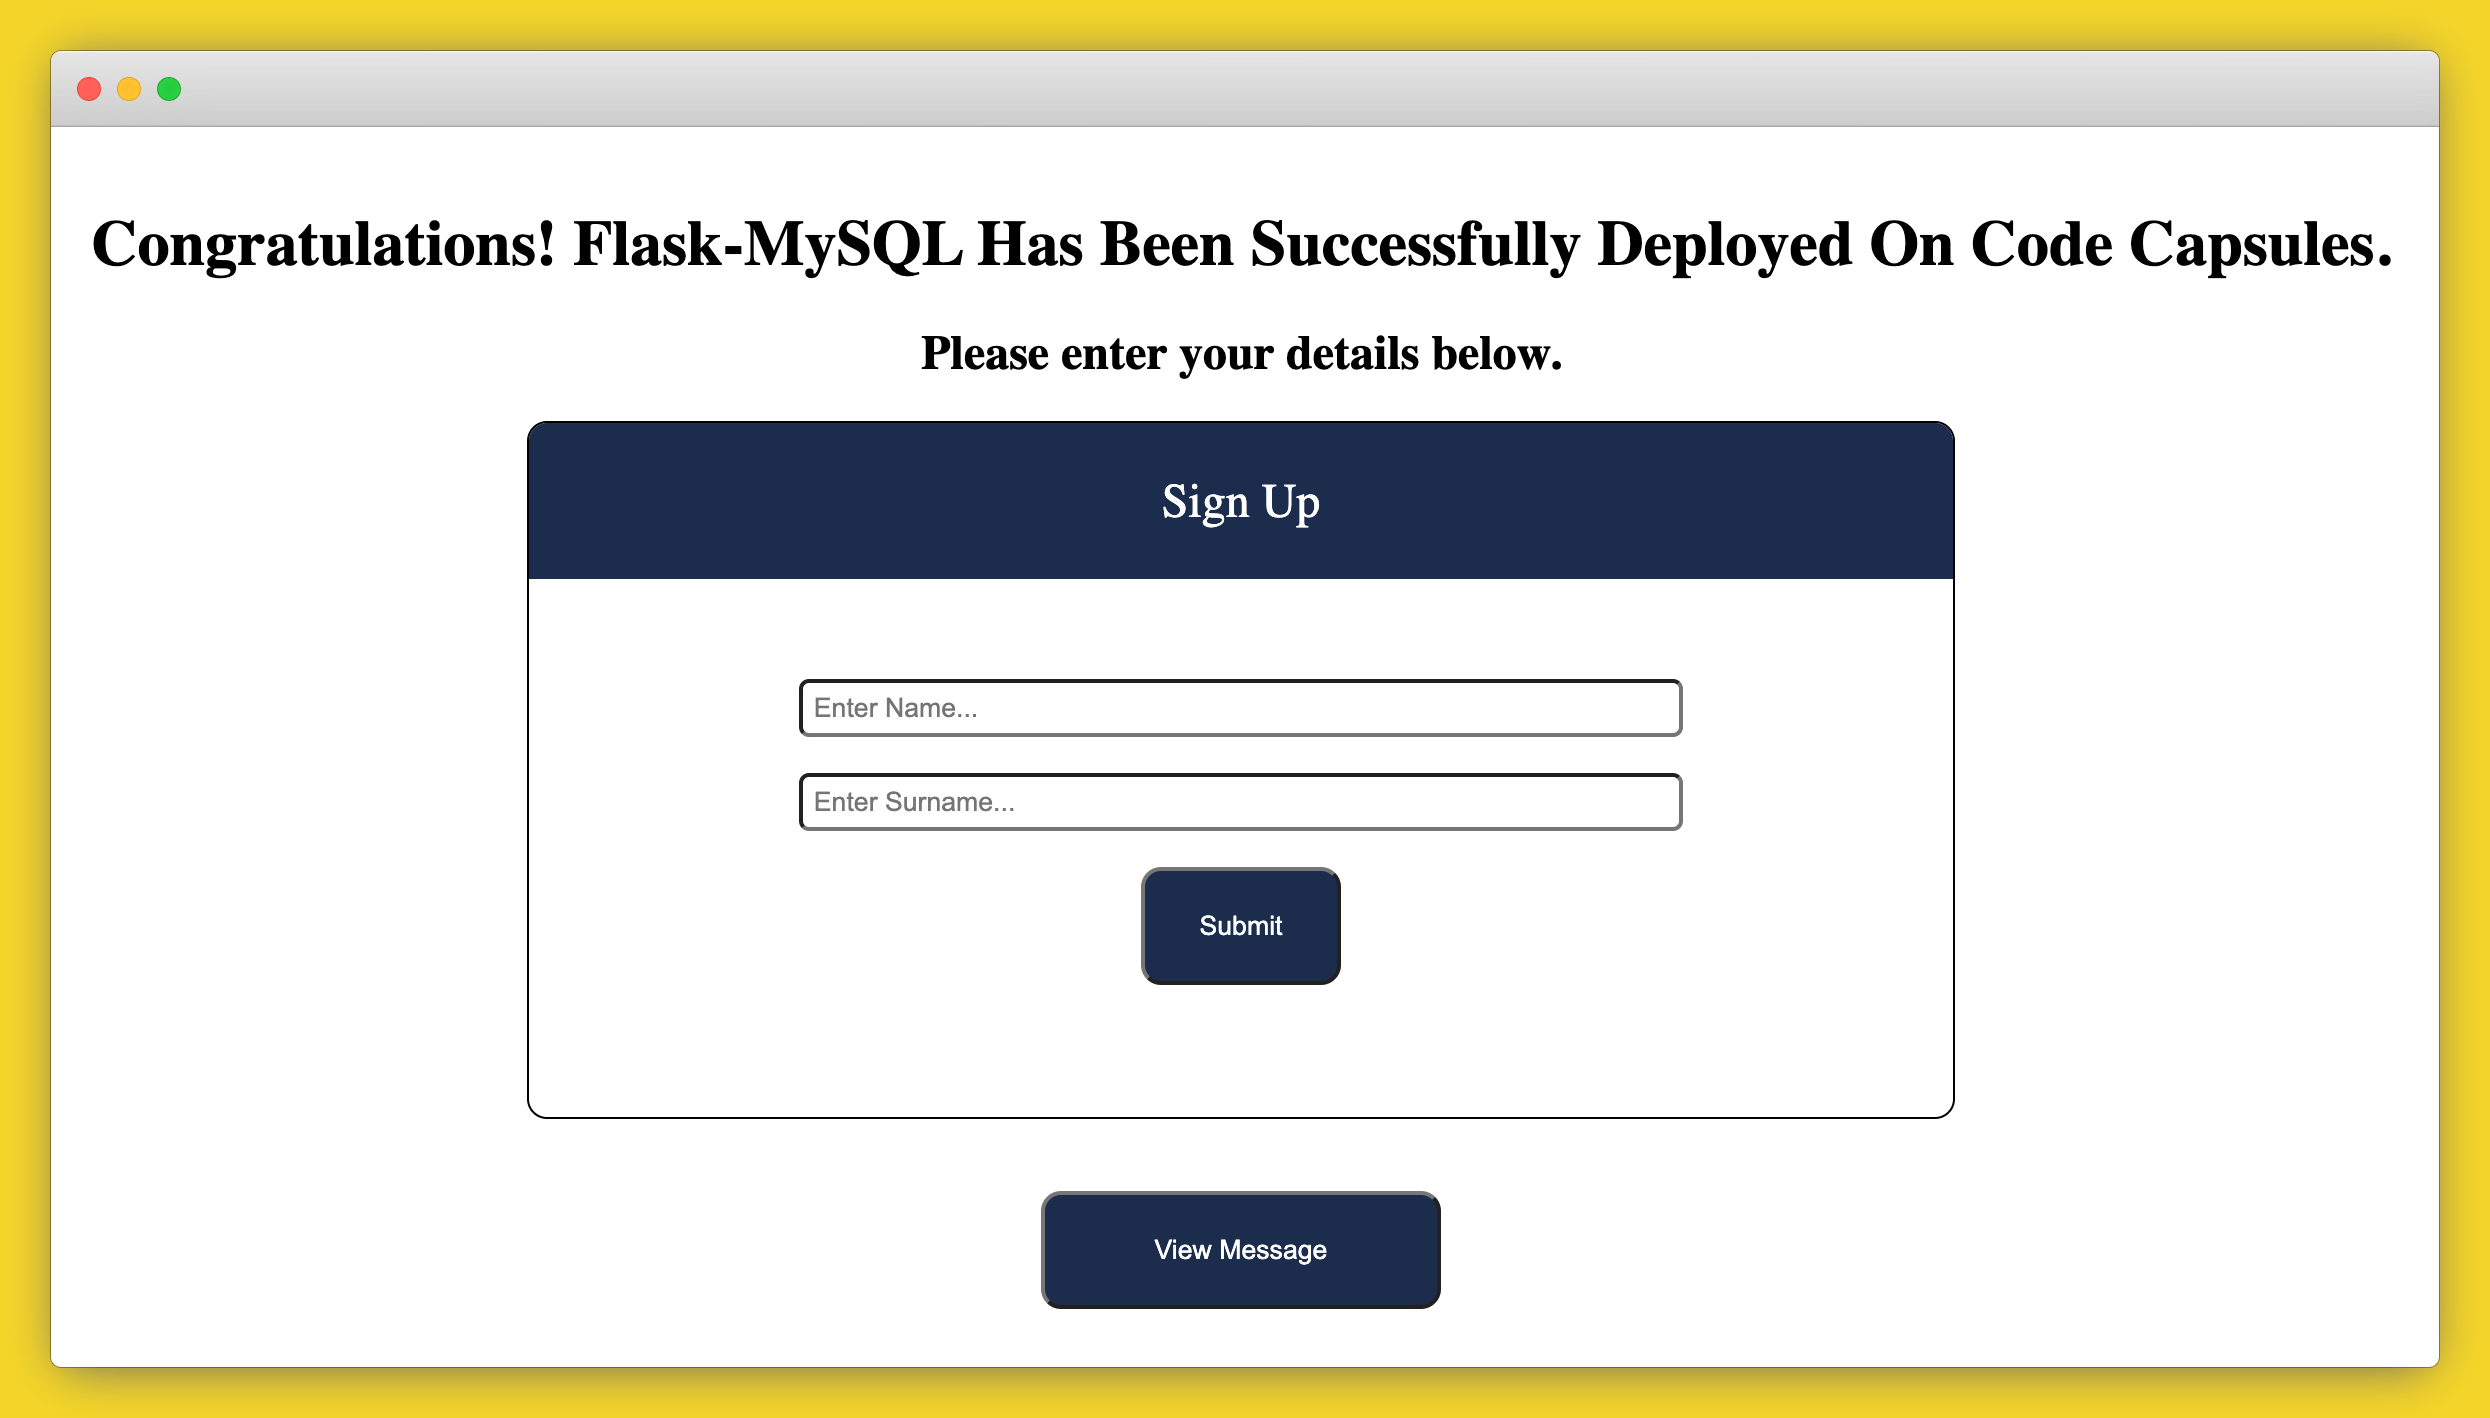
Table of content