
Table of content
Log in to your Code Capsules account and navigate to the Space your Redis Capsule will be contained in. Click the yellow
+
button. In the Create New Capsule dialog, select “Redis”.
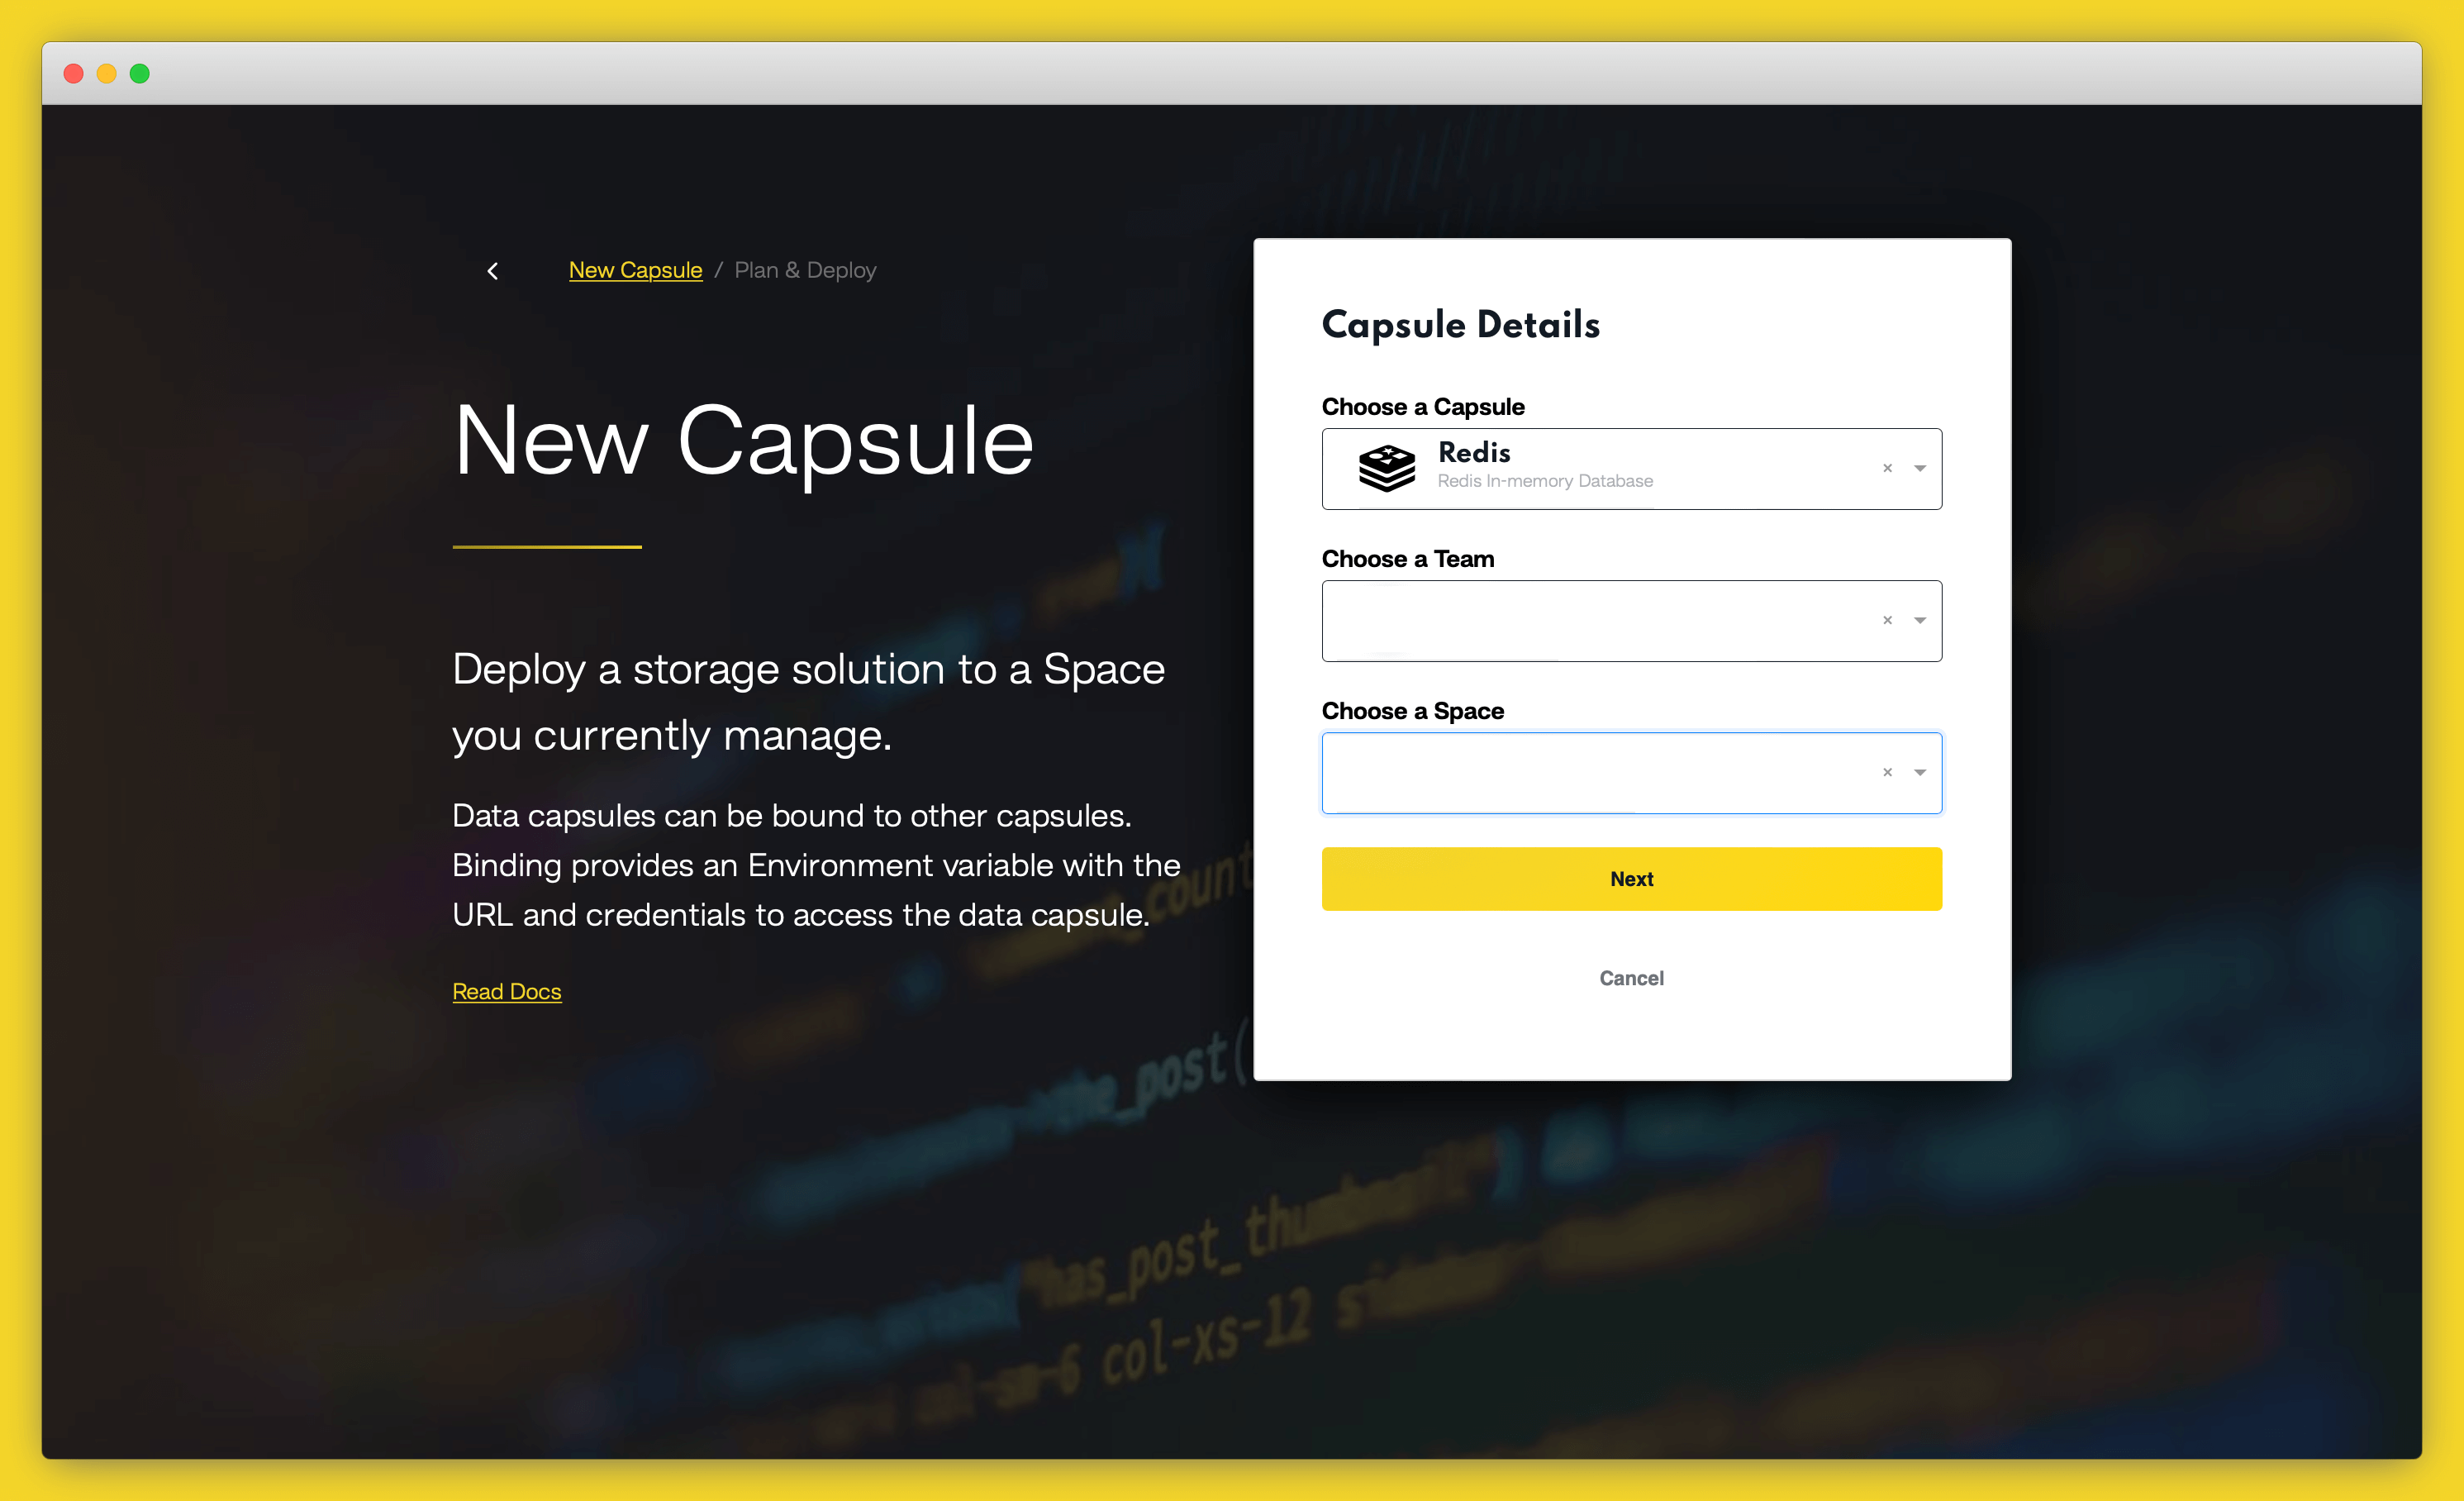
Choose a payment option, and click “Create Capsule”.
Now we need to bind our Data Capsule to a Backend Capsule. Navigate to your Backend Capsule and click on the “Configure” tab. Scroll down to the “Bind Data Capsule” section and click “Bind”.
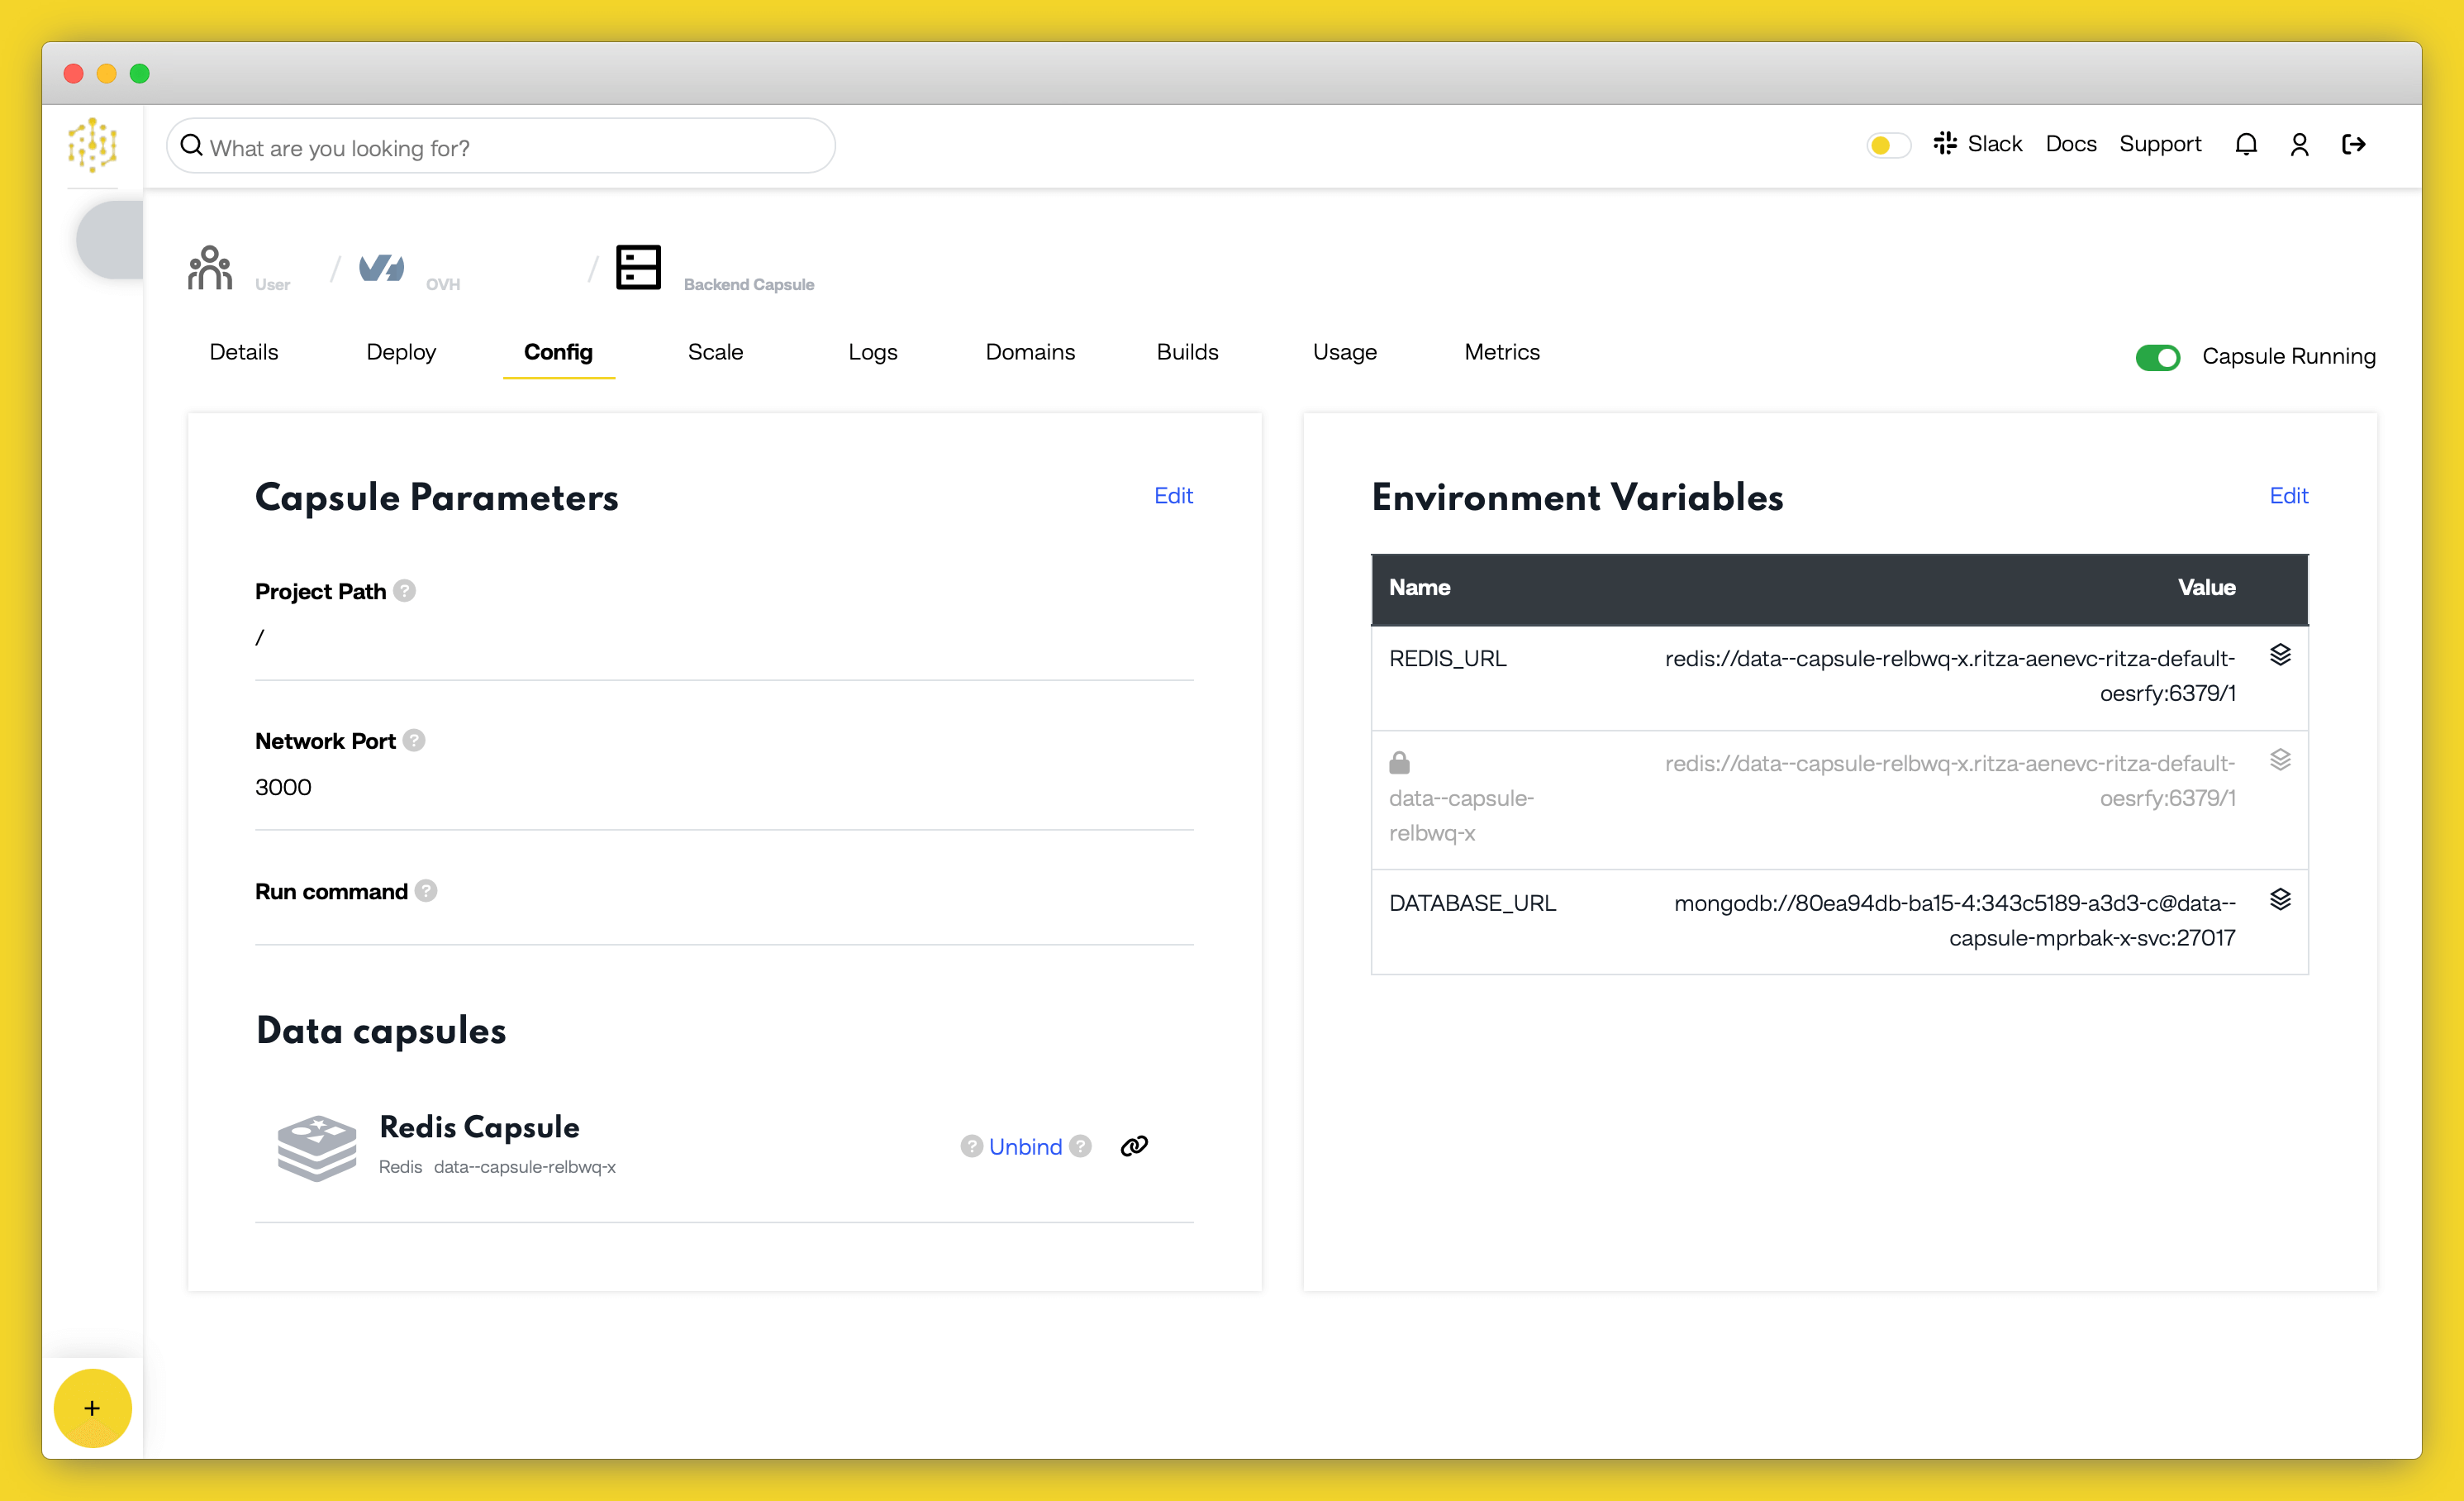
During the “Bind” process, Code Capsules creates a
REDIS_URL
environment variable which will let your application connect to your Redis database. Once the capsules have been bound, you can find the variable under the “Config” tab, in the “Capsule parameters” section.
We’ll use this environment variable in our app to connect to the Redis database.
If your Backend Capsule is a Python application, use the following code to connect to your Redis database:
import os
import redis
redis_url = os.getenv('REDIS_URL')
connection = redis.from_url(redis_url)
# Do something here
If your Backend Capsule is a Node.js application, use the following code to connect to your Redis database:
let redis = require('redis');
let redis_url = process.env.REDIS_URL
let connection = redis.createClient({
url: redis_url
});
connection.connect();
// Do something here
connection.quit();
Table of content