Exploring Nuxt 3, Nitro, and the Server Requirements
Hey there, fellow developers! Today, we’re diving deep into two exciting technologies that are changing the game in web development: Nuxt 3 and Nitro. But that’s not all—we’ll also shed some light on the server requirements for running Nuxt 3 applications. So, let’s get started!
Nuxt 3: Elevating Your Vue.js Game
You might be thinking, “Wait, I know Vue.js! What’s Nuxt 3 all about?” Great question! Let’s break it down.
Vue.js vs. Nuxt.js
Vue.js is a fantastic JavaScript framework for building user interfaces. It’s like your trusty toolbox for creating beautiful, interactive web apps. But sometimes, you need a bit more magic.
That’s where Nuxt.js comes in. Think of Nuxt.js as an extension of Vue.js. It takes Vue to the next level by adding features like server-side rendering (SSR), static site generation (SSG), and improved code organization.
Vue.js
- Great for building interactive components.
- Handles routing and views on the client side.
- Perfect for single-page applications (SPAs).
Nuxt.js
- Enhances Vue with SSR and SSG capabilities.
- Server handles routing and initial rendering.
- Ideal for SEO-friendly, high-performance websites.
Code Splitting and Improved Performance
Now, let’s talk about one of Nuxt 3’s superpowers: code splitting. Imagine your web app as a puzzle, and each piece of code as a puzzle piece. With code splitting, we break down the puzzle into smaller, more manageable pieces.
Why? Because smaller pieces load faster, and who doesn’t love a speedy website? Nuxt 3’s code splitting, powered by Vite, ensures that only the necessary code is loaded, resulting in quicker load times.
// This is an asynchronous function that fetches data.
// It receives an object with parameters, and we're specifically interested in 'params.id'.

export default {
  async asyncData({ params }) {
    // We use the 'fetchData' function to retrieve data based on the 'params.id'.
    const data = await fetchData(params.id);

    // We return the fetched data as an object to be used in the component.
    return { data };
  },
};
With Nuxt 3’s code splitting, this code is automatically split into smaller chunks, reducing the initial load time.
Embracing the Composition API
Nuxt 3 fully embraces Vue 3’s Composition API, a more organized and reusable way to write code. If you’re comfortable with Vue.js, transitioning to the Composition API in Nuxt 3 will feel natural and offer greater flexibility.
<!-- components/Counter.vue -->

<!-- This is the template section of the Counter component. -->
<!-- It renders a button that displays the current count when clicked. -->
<button>{{ count }}</button>

import { ref } from 'vue';
export default {
  setup() {
    // We define a reactive 'count' variable initialized to 0 using 'ref'.
    const count = ref(0);

    // 'increment' is a function that increases the 'count' when the button is clicked.
    const increment = () => {
      count.value++;
    };

    // We return 'count' and 'increment' to make them accessible in the template.
    return {
      count,
      increment,
    };
  },
};
By using the Composition API, you can encapsulate the logic for your component more cleanly, making your codebase more maintainable and easier to understand.
Nitro: Boosting Your PHP Powers
Now, let’s shift our focus to Nitro—a PHP engine designed for blazing speed and performance. If you’re a PHP enthusiast, this one’s for you!
Nitro vs. Node.js
Before we dive into Nitro, let’s clarify something: Nitro is all about PHP, while Node.js is a runtime environment for JavaScript. They serve different purposes, but both are essential in the web development world.
Node.js
- A runtime environment for executing JavaScript on the server.
- Perfect for building server-side applications, APIs, and real-time applications.
- Used for running tools like Nuxt 3’s development server.
Nitro
- A PHP engine focused on optimizing PHP code execution.
- Designed for maximum performance in PHP-based web applications.
- Can be used alongside Node.js to enhance server-side performance.
Just-in-Time (JIT) Compilation Magic
Now, here’s where Nitro shines: just-in-time (JIT) compilation. Think of it as a magician who optimizes your PHP code on the fly. No need to wait for a show; it happens right when you need it.
So, why is JIT compilation so exciting? It makes your PHP code run faster. When your code runs faster, your website loads faster and we all know that faster websites are the best websites!
// JIT-compiled PHP code
function calculateSum($a, $b) {
  return $a + $b;
}
The ability to dynamically optimize your PHP code at runtime can be a game-changer for web applications that demand high performance.
Profiling and Debugging: Your Secret Weapons
Nitro comes equipped with tools for profiling and debugging. This is like having a detective kit for your code. It helps you find bottlenecks, figure out what’s slowing your site down, and make it faster. If you’re a stickler for best practices, this is your best friend.
Easy Integration into Your PHP Projects
If you’re worried about fitting Nitro into your existing PHP projects, don’t be. Nitro plays well with others. Whether you’re working on a brand-new project or adding Nitro to an old one, it’s designed to be a smooth ride.
Bringing Nuxt 3 and Nitro Together
Now, let’s talk about the dream team: Nuxt 3 and Nitro. Combining these two technologies can create web applications that are both high-performance and user-friendly.
Server-Side Rendering (SSR) Magic
Nuxt 3’s SSR capabilities are a perfect match for Nitro. With Nuxt handling the frontend and Nitro powering the backend, you get the best of both worlds. Your website remains responsive, and content loads lightning-fast.
Dynamic Code with a Nitro Twist
Remember how Nuxt 3 splits code into smaller pieces? Well, you can take it up a notch by dynamically importing JavaScript modules. Nitro’s JIT compilation can optimize your PHP code in real-time, creating a dynamic and supercharged application.
Server Requirements for Running Nuxt 3
Now, let’s address a crucial topic: the server requirements for running Nuxt 3 applications. You see, Nuxt 3 isn’t just about writing code; it’s also about running it effectively on a server.
1. Server Environment
Node.js: Both Nuxt 3 and Vue.js applications require Node.js to run on the server. Ensure that you have a compatible Node.js version installed.
2. Routing
Vue.js: In a Vue.js application, routing is typically handled on the client-side using Vue Router. The server mainly serves the initial HTML file, and routing transitions are managed by the client.
Nuxt 3: Nuxt 3 introduces server-side routing as its default mode. This means that the server plays a significant role in handling routing, generating pages on the server, and serving them to the client. You need a server environment that supports Node.js and can execute server-side code.
3. Server Deployment
Vue.js: For a Vue.js application, you can deploy it as a static site by generating pre-rendered HTML files. In this case, the server mainly serves static files, and you can use simple web hosting or a Content Delivery Network (CDN) for deployment.
Nuxt 3: Nuxt 3 is often used for server-side rendering (SSR) or static site generation (SSG). SSR requires a server capable of running Node.js, while SSG can be deployed similarly to a Vue.js application, as it generates static HTML files that can be served by a simple web server or CDN.
4. Server-Side Rendering (SSR)
Nuxt 3: If you plan to use Nuxt 3 for server-side rendering (SSR), you need a server environment that can execute Node.js code and handle SSR requests. Ensure your server supports Node.js and can handle the extra server-side processing required for SSR.
5. API and Backend Integration
Both Vue.js and Nuxt 3 applications can make HTTP requests to APIs or backend services. Ensure that your server environment allows outgoing HTTP requests to external APIs if needed.
6. Build and Deployment Process
Vue.js: For Vue.js applications, the build process usually involves transpiling and bundling JavaScript and assets for production. Deployment is often simpler, especially for single-page applications (SPAs).
Nuxt 3: Nuxt 3 applications may have more complex build processes, especially for SSR or SSG. You may need to configure and build your application before deploying it to a server. The deployment process may involve running Node.js scripts on the server.
7. Hosting Providers
Vue.js: Vue.js applications can be hosted on a wide range of hosting providers, including static site hosting, traditional web hosting, cloud platforms, and serverless environments. Learn how to Deploy your Vue application to production on Code Capsules.
Nuxt 3: Depending on your Nuxt 3 application’s configuration (SSR, SSG, or SPA), hosting requirements may vary. You may need a server environment with Node.js support for SSR, while SSG can be hosted on simpler environments.
Launching Your App with Code Capsules
Establishing Your Code Capsules Profile
Start off by setting up a new Code Capsules account. Follow the steps to create your user profile, preparing you for app deployment.

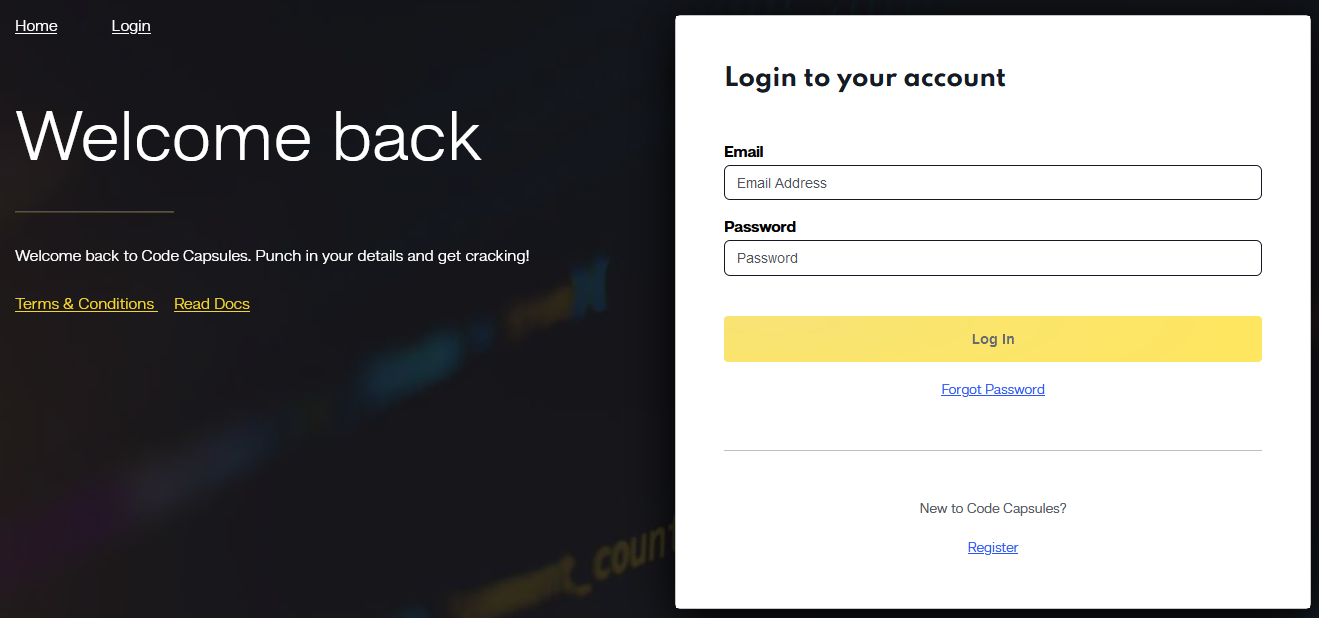
Navigating Your Code Capsules Interface
Once you’ve registered, log in to your Code Capsules profile. This interface is your command center for project management and application deployment.
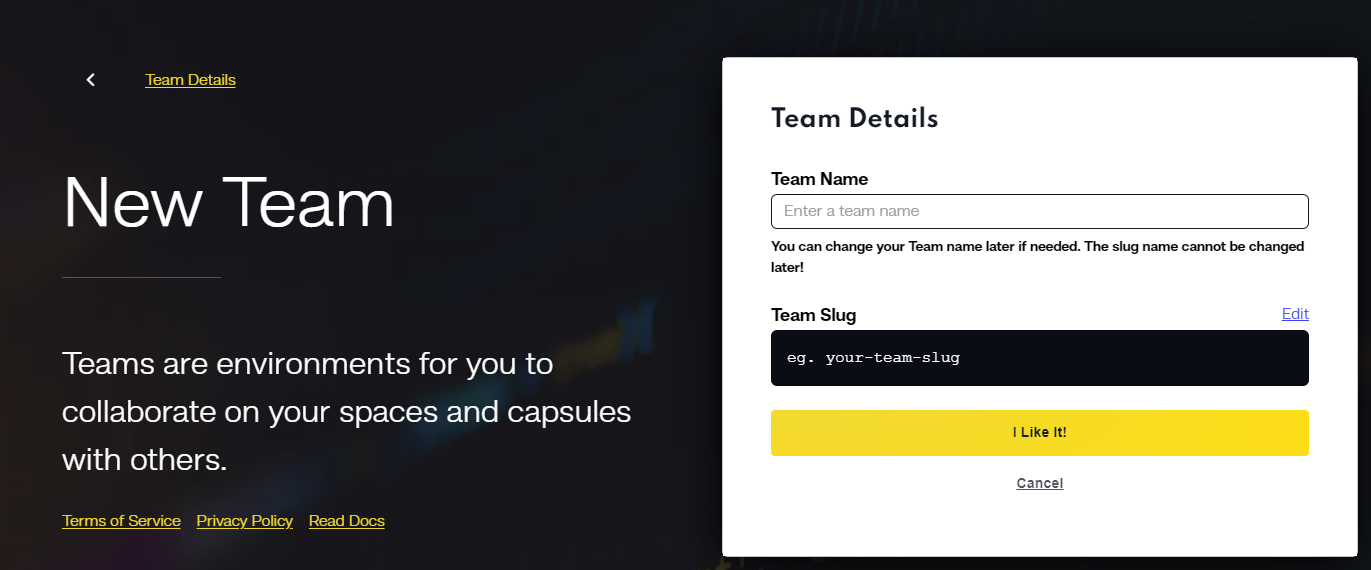
Building a Collaborative Team in Code Capsules
Use Code Capsules to form a development team. This is a vital step for effective project coordination and developer collaboration.
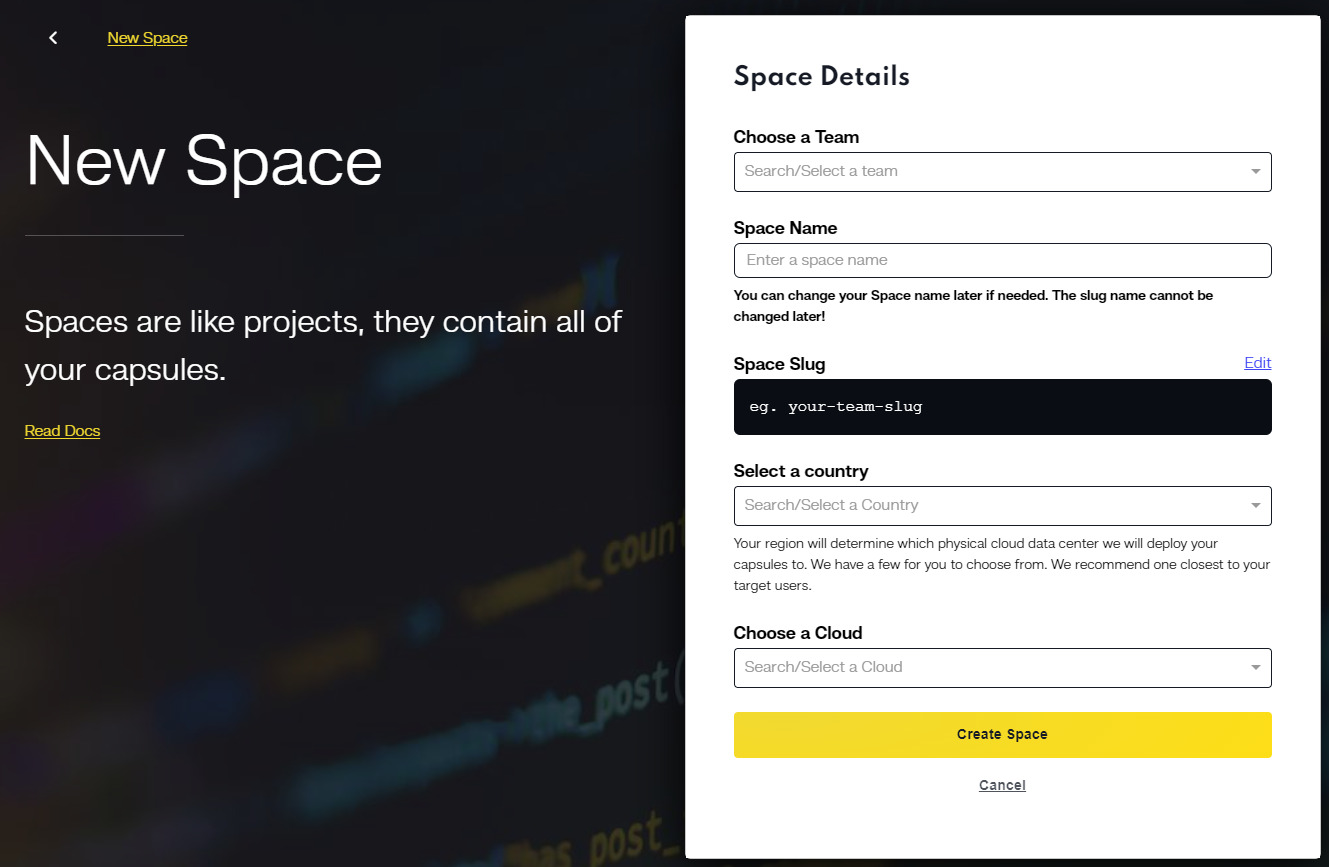
Creating a New Project Environment in Code Capsules
Spaces in Code Capsules offer unique environments for each project. Initiate a new space to provide a dedicated and isolated setting for your apps.
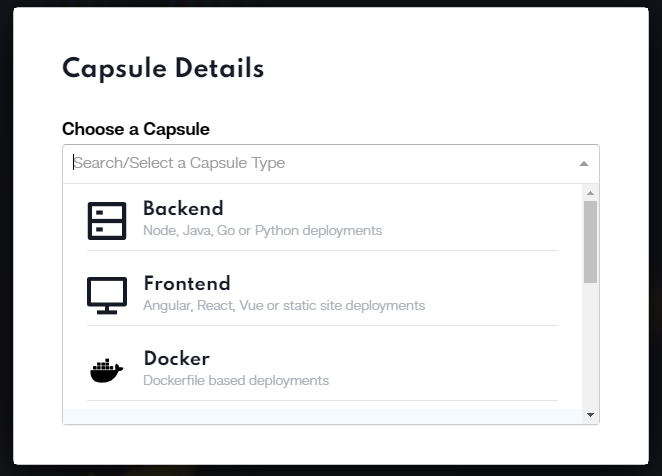
Starting Your First Capsule
In your newly created space, proceed to launch a new capsule. Consider these capsules as separate compartments for different parts of your application, including the front-end, back-end, or Docker setups.
Following these steps, you can smoothly deploy your MEAN stack application on Code Capsules, taking advantage of their comprehensive and intuitive platform for efficient application management and deployment.
In conclusion, Nuxt 3 and Nitro are revolutionizing web development. By understanding the server requirements for running Nuxt 3 applications and harnessing the power of Nitro, you can create high-performance, user-friendly websites that stand out in the digital landscape. So, go ahead, experiment, and build amazing web applications that push the boundaries of what’s possible!