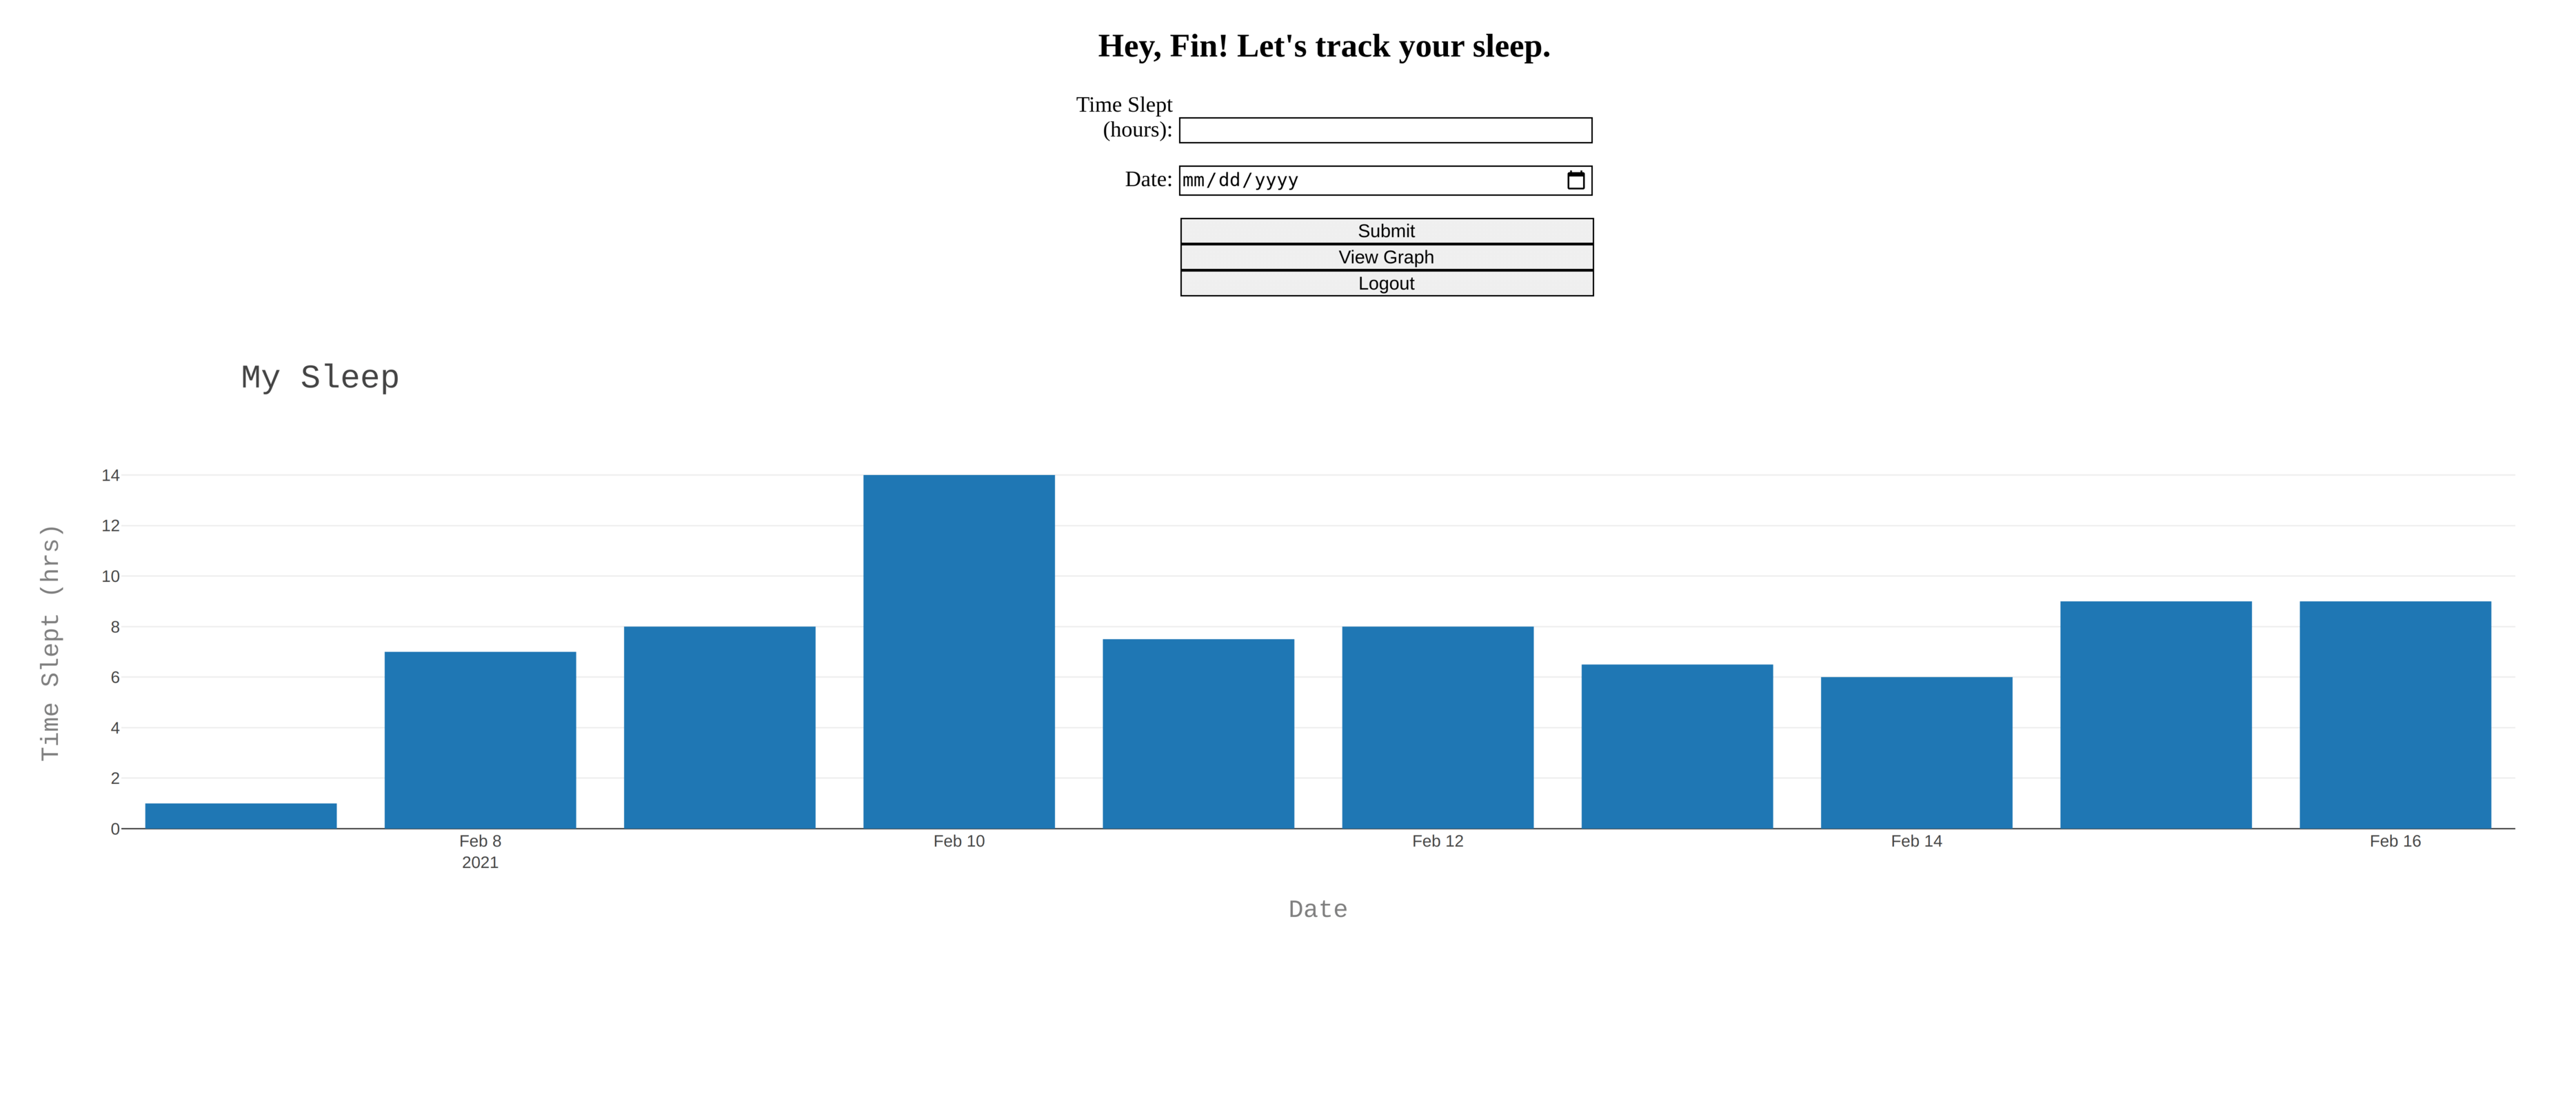
In this two-part tutorial series, we’ll learn how to create a sleep tracker web application hosted on Code Capsules. Users will register an account with the sleep tracker and log in. To track their sleep data, users will enter a date and number of hours slept. We’ll present users with a graph showing the sleep data they’ve logged, so users can get a visual representation of their sleep habits over time.
Throughout this tutorial series, we’ll use many tools to create an interactive experience. We’ll learn how to:
- Create a user login and register system with Python’s Flask.
- Use a MongoDB NoSQL database to store data.
- Create interactive Plotly graphs.
This tutorial series is best suited for those with some Python, HTML, and Flask experience. But even if you feel you don’t have much experience with these, don’t worry. We’ll walk through this application step-by-step. Let’s get started!
MongoDB Data Capsule
One of the most important aspects of this tutorial is using a Mongo Database (MongoDB). With this MongoDB, we can track users’ login information and sleep data. MongoDB is a NoSQL database, which means we can store data easily, in variable formats, without having to first create tables, as we would have to with a traditional SQL database. If you’re unfamiliar with NoSQL databases or MongoDB in general, take a look at this explainer by the MongoDB organization.
Follow this short tutorial to create a MongoDB data capsule that we’ll use to store the user data for this sleep tracker application. This step is critical – without a database, our application will not function.
Once you’ve set up a MongoDB data capsule, continue with this tutorial.
Requirements
In addition to creating a MongoDB Data Capsule, make sure you have the following:
- Git installed and a registered GitHub account.
- Virtualenv installed.
- A registered Code Capsules account.
Project Setup and Introduction
Creating this sleep tracker will be a two-part process. First, we will create a login and registration page and a user management backend. Second, we will create a page where users enter their sleep data and view a graph.
This tutorial will focus on the first part: dealing with user management. To start, create a sleep-tracker directory somewhere on your computer. All of our project’s files will be in this directory.
Setting up Virtual Env
With our sleep-tracker directory created, we need to set up a virtual environment. Setting up a virtual environment will be useful when we host our web application on Code Capsules. Virtual environments ensure that only the libraries used in the development of our sleep tracker application will be installed by Code Capsule’s servers.
To create a virtual environment, navigate to the sleep-tracker directory in a terminal and enter virtualenv env.
Then, activate the virtual environment with:
- Linux/MacOSX:
source env/bin/activate - Windows:
envScriptsactivate.bat
If the virtual environment activated correctly, you’ll notice (env) to the left of your name in the terminal. Keep this terminal open – we’ll install the project dependencies next.
Installing requirements
Our sleep tracker will use the following Python libraries:
- Flask is a lightweight Python web development framework.
- Flask-Login provides user session management for Flask. This will help us implement a user login and registration system without having to create one from scratch.
- Flask Bcrypt is a hashing extension for Flask. This allows us to store users’ passwords securely and without knowing what they are.
- Gunicorn is the WSGI server we’ll use to host our application on Code Capsules.
- Pymongo is a Python library that has tools for interacting with MongoDB’s. We’ll use Pymongo to connect and send data to our MongoDB.
To install these libraries, activate the virtual environment in your terminal and type the following:
pip3 install flask flask-login flask-bcrypt gunicorn pymongo
Next, we’ll create all the files and directories that we’ll use in both parts of this series.
Creating the file structure
Because we’ll use Flask to render our HTML files and serve static content, we need to have a specific project structure. Flask expects to find HTML files in a directory named templates and static content such as CSS stylesheets and images in a directory named static. In the sleep-tracker directory, create both of these directories.
Inside templates, create three files: base.html, login.html, and main.html.
base.htmlwill contain the skeleton for our website’s other HTML pages.login.htmlwill contain the HTML for the main page of our web application. Here, users will log in or register an account with our sleep tracker.main.htmlwill contain the HTML for the page where users will enter their sleep data and view a graph of this data. We’ll handle this file in the second part of this tutorial.
Next, open the static directory and create a file named style.css. This will be the only file in this directory, and will contain the CSS style for our website.
Finally, in the main sleep-tracker directory, create a file named app.py. In this file, we’ll write the Python code that serves our HTML content to the user and manages their activities on the web application.
Creating the HTML Templates
Flask uses the Jinja templating library to allow us to embed Python-like code in HTML. This will allow us to create web pages which change dynamically in response to user actions such as registration, login and entering sleep tracking data. In this section, we will be populating the files we created in templates above, starting with base.html.
Base.html
The base.html file will contain all the HTML code common throughout our application. This allows us to use it as a skeleton for every other page and avoid repeating standard markup such as stylesheet links. Open the base.html file and enter the following markup:
<!DOCTYPE html>

<html>
  <head>
    <meta charset="utf-8">
    <title> Sleep Tracker </title>
    <meta name="author" content="your-name-here">
    <meta name="description" content="This web-application helps you track your sleep!">
    <link rel="stylesheet" href="{{url_for('static',filename='style.css')}}">
  </head>

<body>
{% block content %}{% endblock %}

</body>
</html>
This is our skeleton. When Flask serves our login.html or main.html pages, it will replace the {% block content %}{% endblock %} with that page’s unique content.
Any code between {% and %} or {{ and }} is Jinja syntax, which is largely similar to Python code. Flask will evaluate this code before rendering HTML files and serving them to users. In this example, we use Jinja syntax to call Flask’s url_for() function. To link our stylesheet, Flask uses the url_for() function to find the style.css file in the static directory.
Creating the Login Page
Now that we’ve created the base.html file, we can implement our login.html file. Open login.html and add the following markup:
{% extends "base.html" %}
{% block content %}
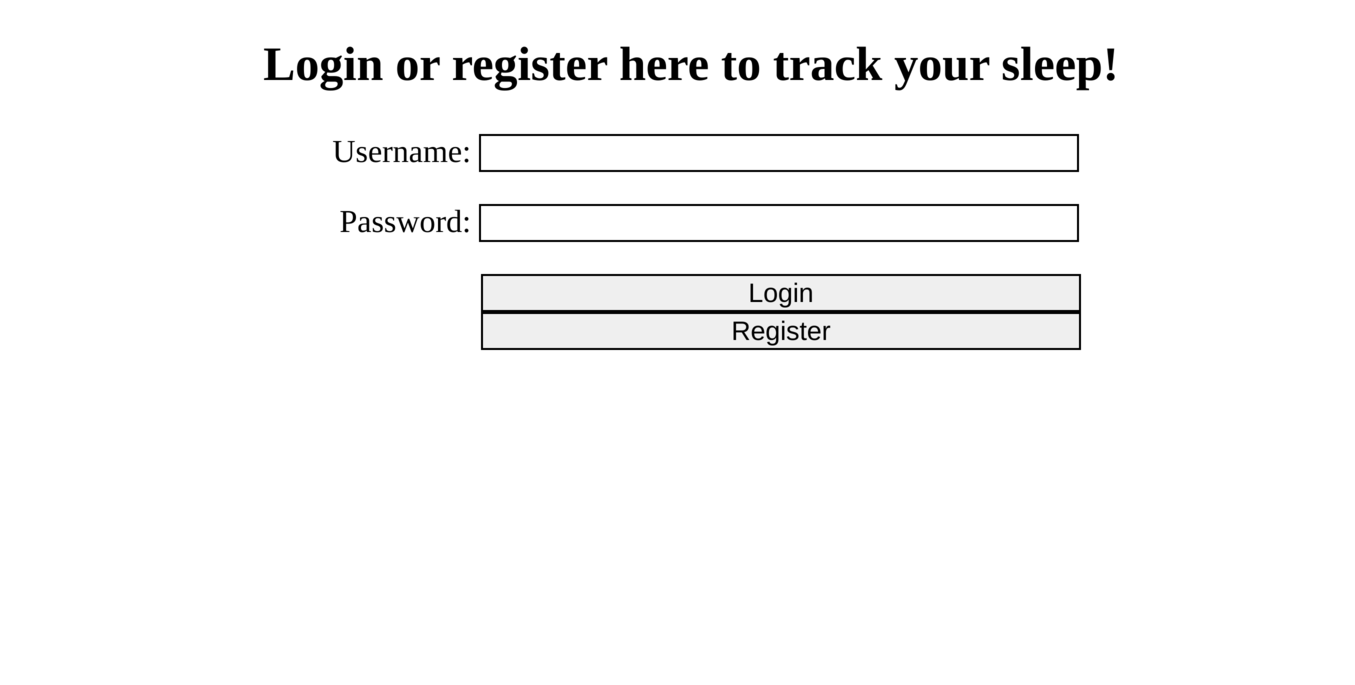
<h2>Login or register here to track your sleep!</h2>
<form action="" method="POST">
<ul>
<li>
<label for="username">Username:</label>
<input type="text" id="name" name="user_name">
</li>
<li>
<label for="password">Password:</label>
<input type="password" id="password" name="user_pw">
</li>
<li class="button">
<input type="submit" name='login' value='Login'>
<input type="submit" name='register' value='Register'>
</li>
</ul>
</form>
{% endblock %}
The line {% extends "base.html" %} tells Jinja to render this page by populating each of base.html‘s named block directives with the corresponding block content defined in login.html. In this instance, we’ve only defined a single block named content, but we could define multiple blocks. For example, we might want to have a head block that defines some page-specific content that needs to be in the HTML <head> tag.
On this page, we’ve created a form containing input fields for users to enter their username and password, as well as login and register buttons. Note the POST HTTP method – this will ensure that the username and password are sent as POST parameters in the HTTP request body, rather than as GET parameters in the URL. This allows us to differentiate between when a user visits the login page (a GET request) versus when they click the register or login button.
Before we take a look at our work so far, let’s populate our style.css file to make our HTML look a bit better.
Adding styles
Open the style.css file in the static directory and add the following:
form {
  margin: auto;
  width: 500px;
}

form li + li {
  margin-top: 1em;
}

ul {
  /* Remove unordered list dots */
  list-style: none;
  padding: .1;
  margin: .1;
}

label {
  display: inline-block;
  width: 100px;
  text-align: right;
}

input, textarea {
  font: "Times New Roman", serif;
  /* Change border & width of textarea */
  border: 1px solid #000000;
  width: 300px;
  box-sizing: border-box;
}

.button {
  /* Align w/ text box */
  padding-left: 105px;
}

h2 {
  text-align: center;
  font: "Times New Roman", serif;
}
You are welcome to add your own personal touches, such as a favorite color or font.
Testing what we have
Now that we’ve created our templates and stylesheet, let’s add some initial functionality to app.py. Open the file and enter the following code:
from flask import Flask, render_template, url_for, request, redirect

app = Flask(__name__)

## Login/Register page
@app.route('/')
def login():
    return render_template('login.html')

@app.route('/main')
def main():
    return render_template('main.html')
Here, we’ve created two routes: + /, which will be our web application’s homepage and serve the content of login.html. + /main, which will be our web application’s sleep tracker page and serve the content of main.html.
Flask uses the @app.route function decorator to determine which functions will be executed when the user visits different routes.
View the application by opening a terminal in the sleep-tracker directory and entering flask run.
After running the application, Flask will provide you with a URL. Enter this URL in your web browser, and you’ll see the login screen. It should look something like this:
Handling User Registration and Login
Rather than implementing a user registration and login system ourselves, we’ll use the Flask Login library that we installed earlier to provide this functionality. This will help us to save time and avoid common usability and security pitfalls. We will store user information in the database we created at the beginning of this tutorial.
First, let’s import the functionality we’ll need from: + flask-login, flask-bcrypt, to handle users. + pymongo, to interface with MongoDB. + re, to validate user input.
Enter the following code below the line that starts with from flask import:
from flask_login import LoginManager, UserMixin, login_required, login_user, logout_user, current_user
from flask_bcrypt import Bcrypt
import pymongo, re
Now we can create an instance of the LoginManager class and set a secret key for our application. Just below the line that defines app, add:
app.config['SECRET_KEY'] = 'your-secret-key-here'
login_manager = LoginManager(app)
This class does exactly what it says – manages logged-in users and communicates any necessary information about a user to Flask. Replace your-secret-key-here with a long randomly generated string. UUIDs are good for this purpose. You can generate one with the following terminal command:
python3 -c 'import uuid; print(uuid.uuid4().hex.upper())'
Next, we need to initialize a bcrypt object for our application. Add the following code below the line that defines login_manager:
bcrypt = Bcrypt(app)
When a user registers with our sleep tracker, we’ll create a new entry in our MongoDB with the user’s username and password. That way, when a user logs in to our sleep tracker, we can see if the information they entered matches the information in our MongoDB. Beneath the last line we added, add the following:
client = pymongo.MongoClient('mongodb+srv://YOURUSERNAME:YOURPASSWORD@cluster0.e2fw3.mongodb.net/<dbname>?retryWrites=true&w=majorhostity')
db = client.user_login
Here we import the pymongo library and use it to connect to our MongoDB instance. Replace YOURUSERNAME and YOURPASSWORD with your data capsule account information.
Create the user class
For Flask Login to work, we need to create a User class. This User class will contain information pertaining to the user who is currently logged in to our sleep tracker.
Flask Login expects us to implement four methods in our User class: is_authenticated, is_active, is_anonymous and get_id. Rather than implementing all of these ourselves, we will have our User class inherit from Flask’s UserMixin, which provides generic implementations for the first three, leaving us with only get_id. In addition, we’ll need to implement our own load_user and check_password methods.
Below the line db = client.user_login, enter the following code:
class User(UserMixin):
    def __init__(self, username):
        self.username = username

    def get_id(self):
        return self.username
Here we’ve created the class, inherited from UserMixin and implemented the get_id method, which simply returns the user’s username. To facilitate user login, we need to implement two methods, load_user and check_password. Let’s implement load_user first. This method will be used to fetch a user from the MongoDB database corresponding to the username entered in the login form. Add the following code to the User class:
    @login_manager.user_loader
    def load_user(username):
        user = db.users.find_one({ "username": username })
        if user is None:
            return None
        return User(username=user['username'])
The decorate @login_manager.user_loader tells the login_manager to use this method to load users.
Now let’s add a check_password method. This method will be called to determine whether a user has entered the correct password for the username they specify. When we register users, we will hash their passwords with the bcrypt one-way encryption function before storing them in MongoDB. This will keep our users’ passwords secret from us and, should our application be compromised in the future, ensure that hackers cannot easily recover our users’ passwords and use them on other websites those users may have an account on. Therefore, when checking the password a user has entered on login, we need to hash this input with bcrypt before comparing it to the password entry in our MongoDB database. To do this, add the following code to the User class:
    @staticmethod
    def check_password(password_entered, password):
        if bcrypt.check_password_hash(password, password_entered):
            return True
        return False
By making check_password a static method, we enabled it to be called without instantiating an instance of our User class.
That’s all we need for user login. Now we need to link our login and registration form to this functionality.
Add functionality to the login and register buttons
When a user clicks the register button, we will create a new user document in our MongoDB users collection, containing their username and hashed password. When a user clicks “Login”, we will log them in if they’ve entered a valid username and password combination and redirect them to the main.html file.
To achieve this, we’ll create a new function that handles login and registration. Add the following code below the def login() function:
@app.route("/", methods = ["POST"])
def login_or_register():
    if request.method == 'POST':
        name_entered = str(request.form.get('user_name')) # Get username and password from form
        pw_entered = str(request.form.get('user_pw'))

        if request.form.get('login'): # Log in logic
            user = db.users.find_one({ 'username': name_entered })
            if user and User.check_password(pw_entered, user['password']):
                usr_obj = User(username=user['username'])
                login_user(usr_obj)
                return redirect(url_for('main'))
            else:
                return "Incorrect username or password."

        elif request.form.get('register'): # Register logic
            # Validate username and password
            if not re.match("[a-zA-Z0-9_]{1,20}", name_entered):
                return "Username must be between 1 and 20 characters. Letters, numbers and underscores allowed."
            if len(pw_entered) < 8:
                return "Password must be at least 8 characters."

            if db.users.find_one({ 'username': name_entered }):
                return "User already exists."

            new_user = { 'username': name_entered,
                         'password': bcrypt.generate_password_hash(pw_entered) }
            db.users.insert_one(new_user) # insert new user to db
            return redirect(url_for('login')) # redirect after register
First, note the POST method. As mentioned when we created our login.html file, using a POST method for user login and registration allows our application to transmit username and information more securely and allows us to differentiate between a user login or registration (POST) and a user merely visiting the page (GET).
If the login button is pressed (if request.form.get('login')), we check our MongoDB for a username that matches the one entered. Then we check if the password entered matches that user's password in the MongoDB. If check_password evaluates to true, we log the user in and redirect to the main route, which we'll create in the next part of this series. Otherwise, we provide the user with an error message. To redirect users, we use Flask's redirect function and url_for functions. The url_for function finds the main route, and the redirect function sends users to that route.
If a user clicks "Register", we first validate the username and password they've provided. We're restricting usernames to a length of 20 characters, containing only alphanumeric characters and underscores. We're also ensuring that the chosen password is eight or more characters long. Furthermore, we then check whether the username they're trying to use is already taken. If their username and password are acceptable, we create a new_user dictionary with the specified name and a bcrypt hash of the specified password, which we then insert it into our MongoDB. Then we send the user back to the login page.
Trying out the login system
We've implemented the login and register buttons. Try running the program by opening a terminal in the sleep-tracker directory and entering flask run. Test out registering a few new accounts and logging into them. Remember, we haven't put any HTML in our main.html file, so when you log in, you'll see a blank page. Don't worry, everything is working!
In the next part of this series, we'll implement the rest of the sleep tracker application. This means populating the main.html file and learning how to store user sleep data in MongoDB.
Further Reading
To learn more about Flask-Login, take a look at their documentation. The Explore Flask documentation site also has a guide for handling users that goes into further depth than we have, including features such as a way for users to reset forgotten passwords.
For more information on the Jinja templating language, their documentation can be found here.
Finally, when you're ready, finish the sleep tracker application by following the second tutorial in this series.